


How to Butcher Chickens On The Homestead
For a long time I’ve debated on posting about how to butcher chickens.
It can be a touchy subject and people have come to be pretty sensitive about this topic.
I get it! It’s easy to become attached to your girls.
I’ve been there.
But to not share how to butcher chickens, I think, is in a sense false to the reality of how we live here at the Samuels Homestead.

The truth is, this is where our food comes from, and a lot of people have become detached from that fact.
One way I make this easier is that I do not name our birds.
This can be hard because they do have quiet the personalities! But as Nick put it, “When you get hungry, you’ll get over it.”
He was right and I had to learn how to butcher chickens!
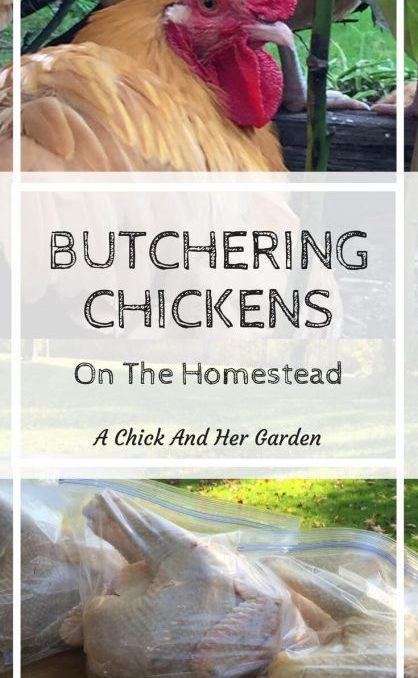
Pin Me For Later!!

We eat meat here. It’s a simple fact.
Would I rather go to the store and buy meat that I am utterly clueless as to where it’s come from?
Or raise animals that I know are treated with kindness and respect and fed the best quality food free of antibiotics and steroids.
We raise Buff Orpingtions, which you may have seen in other posts.
They are a large heritage breed used for both meat and eggs, and are notoriously broody.
We allow them to hatch a clutch whenever they go broody.
Roosters are butchered when they are mature and hens either as we need them or when they have stopped laying.
Right now we definitely have too many roos and this weekend is a weekend to butcher chickens.
Step By Step Guide on How to Butcher Chickens
Unfortunately for us there are no fancy chicken pluckers at this house. But because we’re only doing a few, this isn’t a huge problem. Here are the tools that we gather up on butcher day.
- Ice water in a cooler
- turkey fryer
- thermometer
- sharp knife, I use a boning knife and hubby uses a utility knife
- poultry sheers, optional
- killing cone, like this one on Amazon, or you can use a road cone, cut to fit like we did.
- have a water source near by, a garden hose is fine.
- zip ties
- small propane torch
1. Catch Your Chickens
In this case we caught roosters. I swear every time we do this, and I’ve lost count, this process changes.
Sometimes it’s easy, like today. We lured them with a bit of feed and just grabbed them.
Most of the time it doesn’t go this way. Hubby gets into the run, corners them and after a lot of swearing grabs them.
We try to give as little feed as possible because we keep them separated without food, so that their crops are not full.
2. Put Chickens in the killing cone.
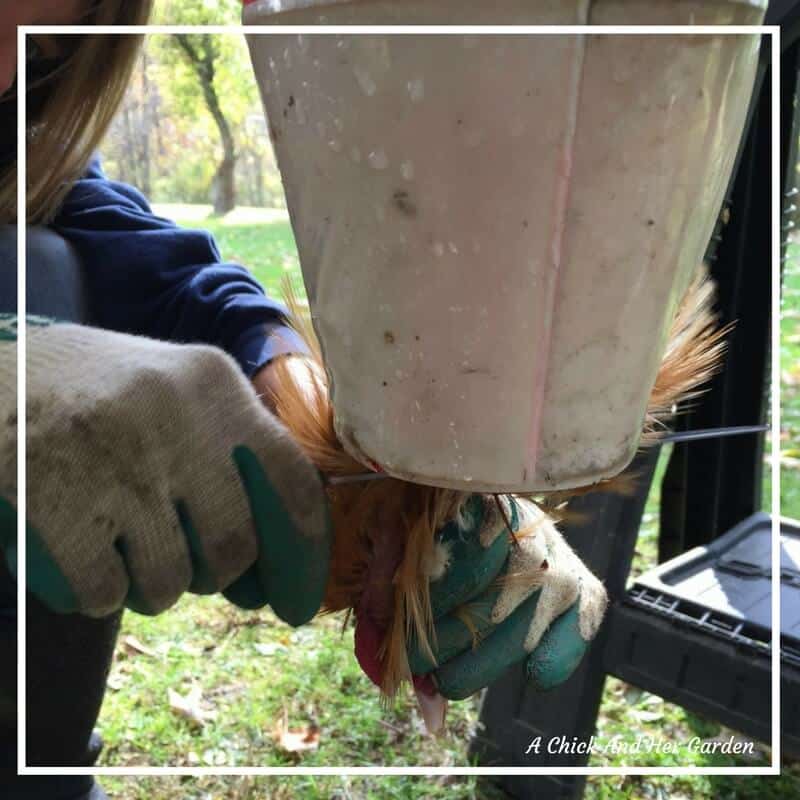

Place your chicken head first in the killing cone.
They calm down quite a bit at this point, as chickens will go to sleep when they are turned upside down. You will probably have to reach in and pull their head out through the end of the cone.
Pull the feathers back and use your knife to cut the artery.
They will kick a bit, but nothing compared to the old chop the head off and let them flop around.
A main reason that we use the cone is that by keeping them calm and somewhat still, you are reducing the adrenaline in their muscles and keeping the meat tender.
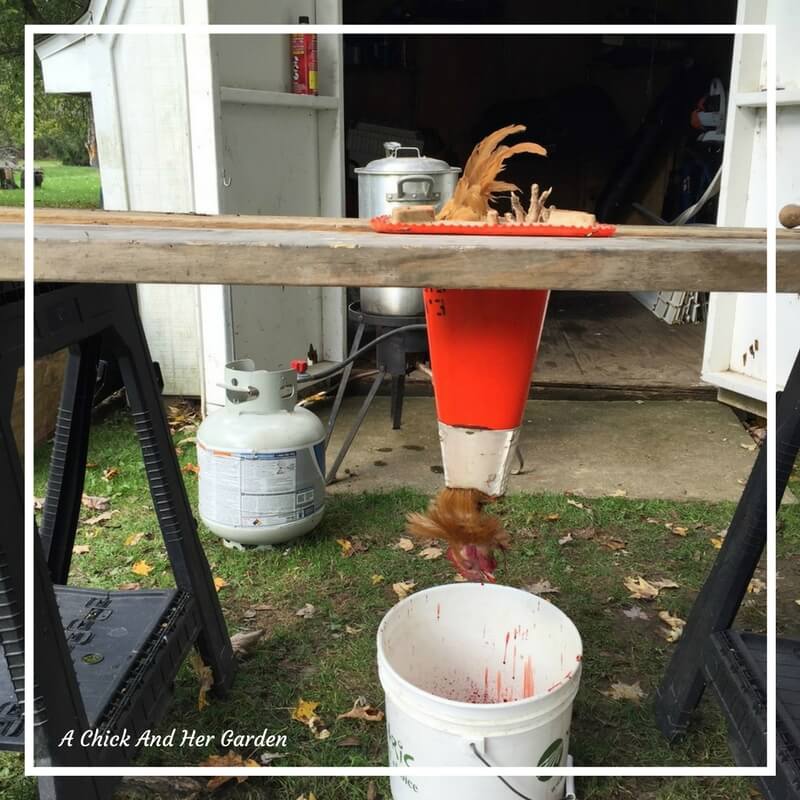

Allow them to drain into a bucket before zip tying their legs. We hang the birds this way while we cull the remaining birds.
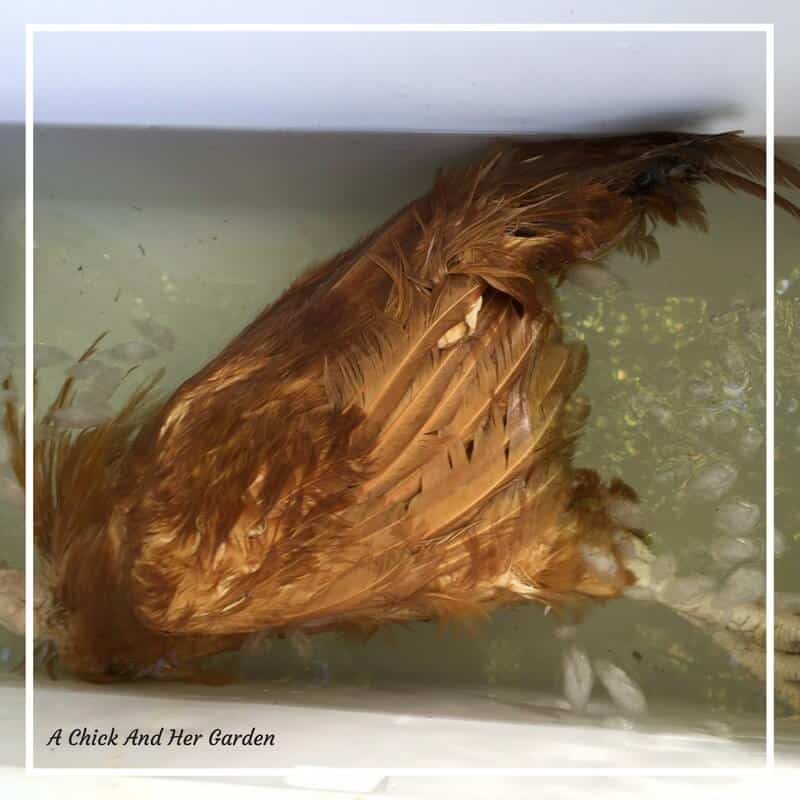
3. Dunk the bird in hot water.
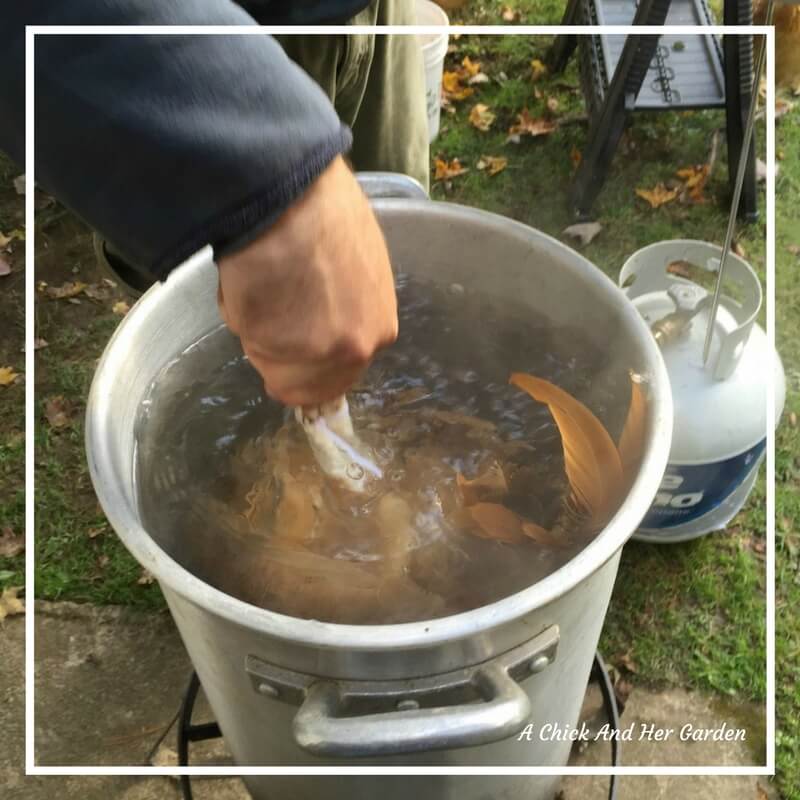

Your turkey fryer should be filled with water and the temperature brought to 160°F.
Use the feet to dunk and swirl the bird, making sure to get water under and throughout the feathers. Dunk the bird for about 3 minutes or until you notice the feathers coming off easily.
4. Submerge in Ice Water

Immediately after the hot water, submerge the bird in ice water, in a cooler.
This step and the previous allow for the feathers to literally wipe off.
Nick has informed me, that if you leave them in this water too long though it is more difficult to remove the feathers, so just a minute is all you need.
5. Remove the Feathers

On to plucking, and let the groans begin.
This is the worst part of the deal, and yes a chicken plucker would be nice, but not worth it for us at this point.
The hot water and ice bath really do make this a piece of cake, but lets face it, it’s just not fun having feathers stuck all over your hands and making sure you get every little one.
This is a good point to use your hose, rinsing off will give you a better idea of how far you have to go.
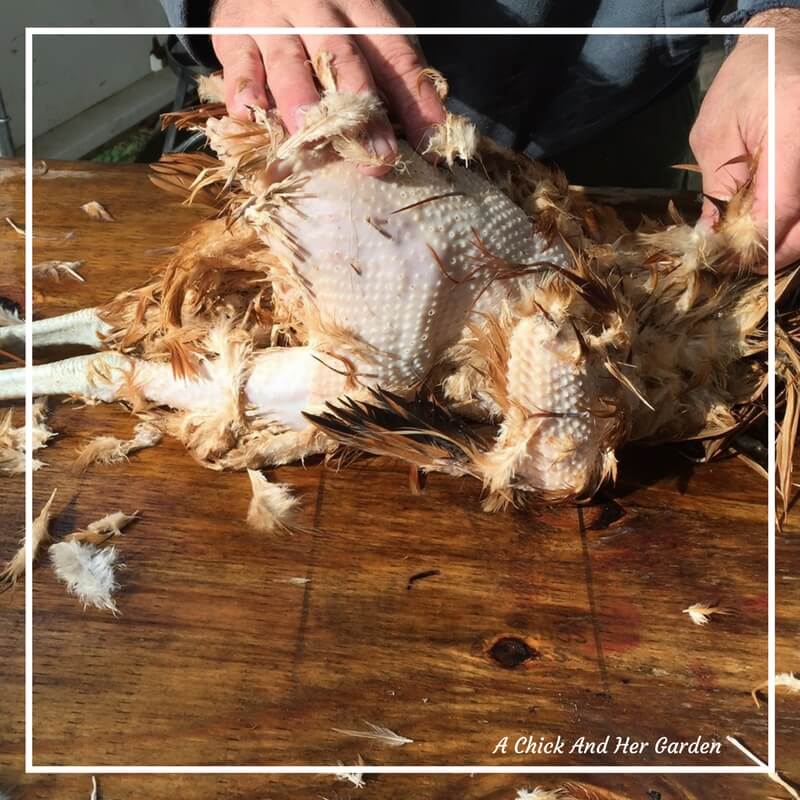
6. Remove the organs

Cut around the tail and vent, like shown in the picture, and the same for the neck. Detach the tail and neck from the spine. Make sure the crop has detached from the remainder of the neck. (Sorry no picture, we were both pretty gross by this point.)
Once the tail and crop are detached, gently pull and remove the organs. After the intestines are removed, you can reach your hand in to loosen everything else from the chest cavity.
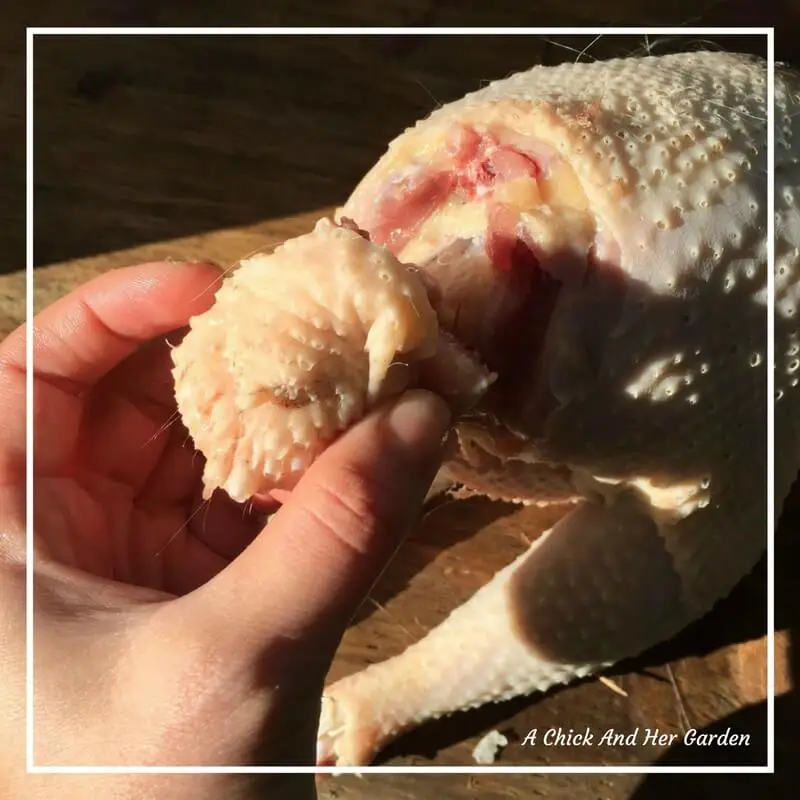
To remove the feet, bend backwards at the knee joint, cut around and cut the tendon. They will remove easily.
* If you look in the picture above you’ll see fine hairs. This is the reason for the next step.
7. Singe the outside of the bird

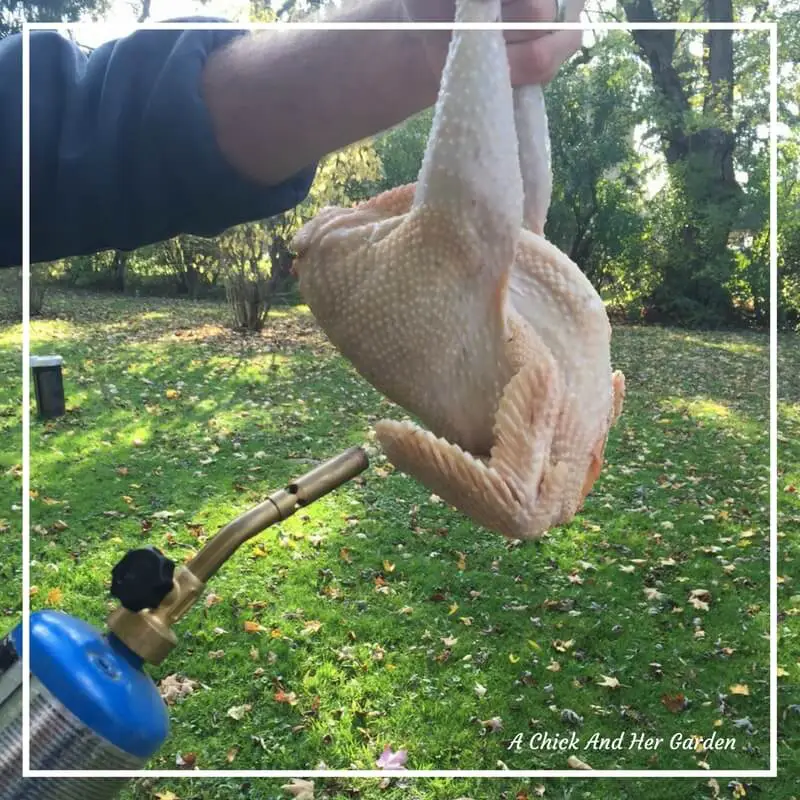
Use the propane torch to singe off the hairs and any remaining feathers.
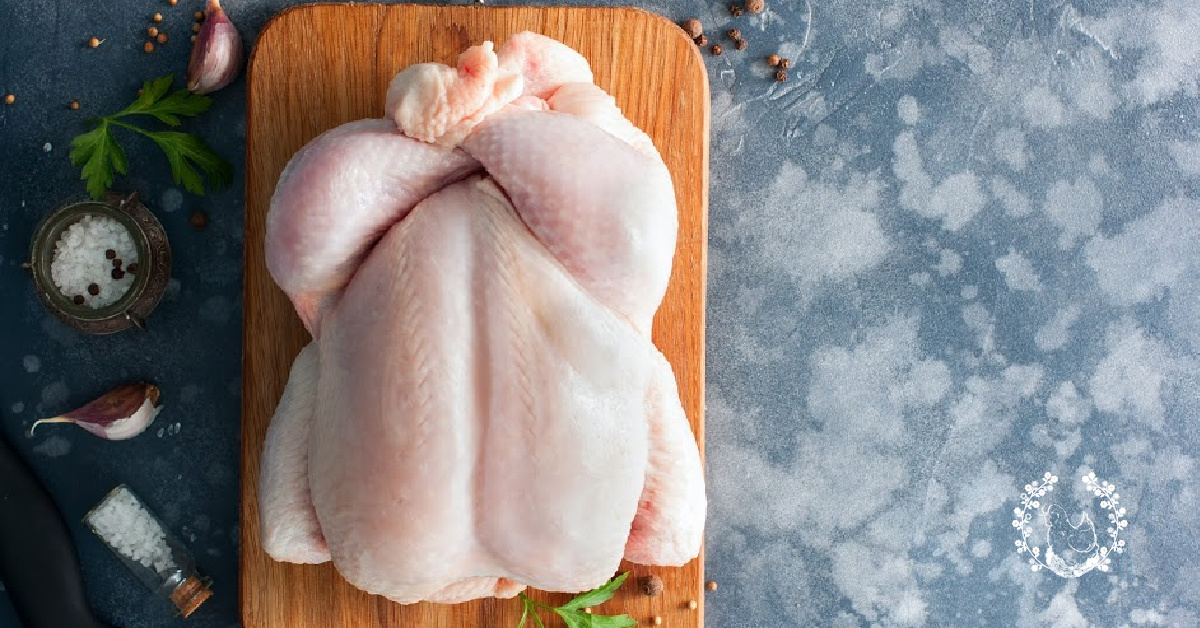
8. Package your Chickens
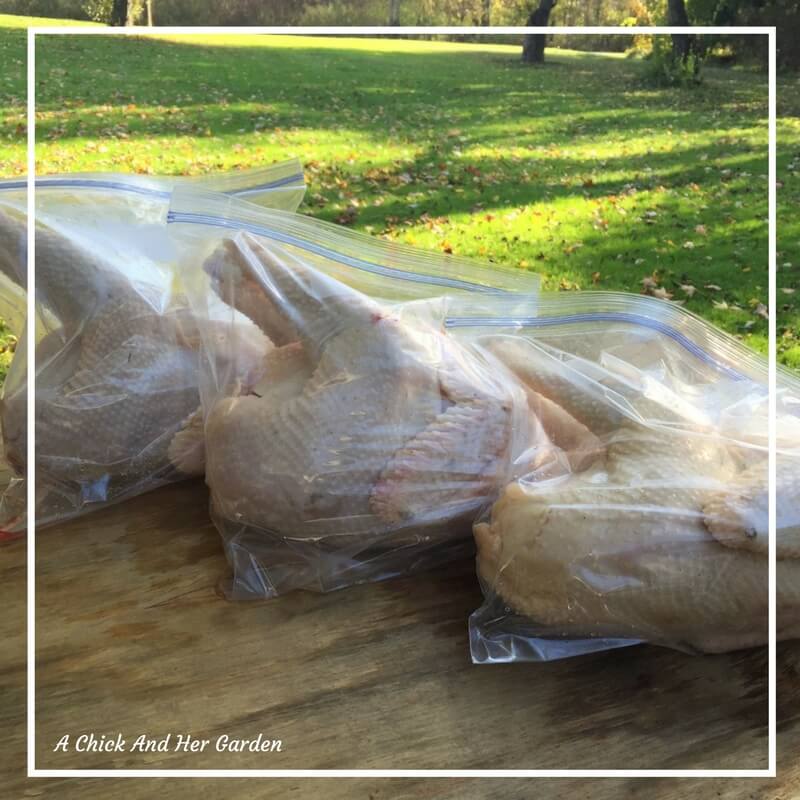

We store our chickens in gallon freezer bags, and try to get as much air out as possible. As much as I would love to use our vacuum sealer, the birds just don’t fit.
Keep the packaged birds in the refrigerator for 24 hours and then process, use, or store in the freezer.
Looking to raise dual purpose chickens like us? Grab a copy of Dual Purpose Chickens: Raise ‘Em Like Your Grandma Did for tips from brooder box to butchering!
* My favorite way to cook our chicken is with our recipe for The Perfect Roast Chicken!
jbasye
Sunday 11th of June 2017
FYI- I am not sure if it is a typo or what, but after following the instruction on soaking them in the hot water for 3 minutes, our birds were half cooked and the skin pulled right off with the feathers. It was a disaster. 30 seconds with no cold water bath was perfect for us; the feathers pulled easily and no skin was lost. Otherwise, there is a lot of good information here. .
Linda Nowak
Monday 24th of April 2017
My husband raises meat chickens and they get quite big. He pretty much butchers like you, but we don't have a killing cone. He puts them in a feed bag, and keeps them in the bag to drain out the blood. We do vacuum seal them, but they are first cut in half, as they are way too big to seal up whole, and 1/2 a chicken is plenty for us for dinner, with leftovers for the next day! Thanks for sharing this article. I will let my husband know about the killing cone.
Piwakawaka Valley
Friday 7th of April 2017
Great step by step instructions! Thank you. I am pinning it for when the time comes for us to need it! I have a contact in town that breeds heritage chooks, I am hoping she has some Orpingtons or light Sussex for us.
Staci Samuels
Friday 7th of April 2017
Thanks so much! We love our Orpingtons!
Mixed Bag Mama
Wednesday 5th of April 2017
Great step by step directions!
Katy SkipTheBag.com
Friday 18th of November 2016
Ugh, I'm glad you posted this, but I'm not sure I'll be ready to 'harvest' our chickens when the time comes. Hubby, thankfully, is more open to the idea. He actually saw it pulled up on my computer last night and read this article before I did!
Staci
Friday 18th of November 2016
I'm so glad your hubby liked it too! This post was probably my most interesting to my husband and he had to be apart of it. He helped to make sure it was 'neutral' and was a big help in making sure it gave the instructions clearly without being overly graphic or insensitive! :-)