Melt And Pour Goat Milk Soap
I was raised in a large extended family, and every year for Christmas we try to get as many of us together as possible. I am lucky to still live fairly close and am able to make it to most holiday events.
But so many of us live from coast to coast! Because there are so many of us, it’s hard to give to everyone.

We draw names and we each give a large gift to one person, but my mom and I like to make something homemade each year to give to the whole family. Since my next plans for the homestead are goats, we decided to do goat milk soap!
Share the love! Pin Me For Later!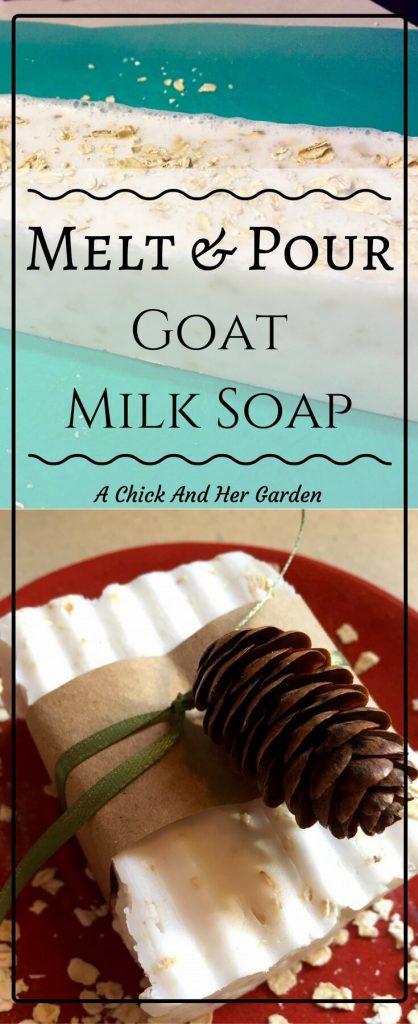

Melt And Pour Oatmeal Goat Milk Soap
Because I don’t have goats yet, and our friends up the road at Chaffee’s Tannery Run Farm have stopped selling milk for the season we decided to try out melt and pour soap. It is literally that simple, but I broke it down into a few steps for you below!
We started out with a melt and pour base,
and a silicone mold and wavy soap cutter.
I wasn’t ready to buy a lot of essential oils, so I bought three scents in the pharmacy section of Walmart; lavender, peppermint, and eucalyptus.
We also wanted to add oatmeal, so we just used the quick oats already in the pantry!
To start out, cut your soap into small blocks and place in a microwave safe bowl. Microwave in 15-20 second intervals until COMPLETELY melted.
The package says 10 seconds but it was quicker to do in longer intervals and worked perfectly fine for us. Our first batch we poured into the mold while it still had lumps, and while it did turn out, it was not as smooth as the second batch.
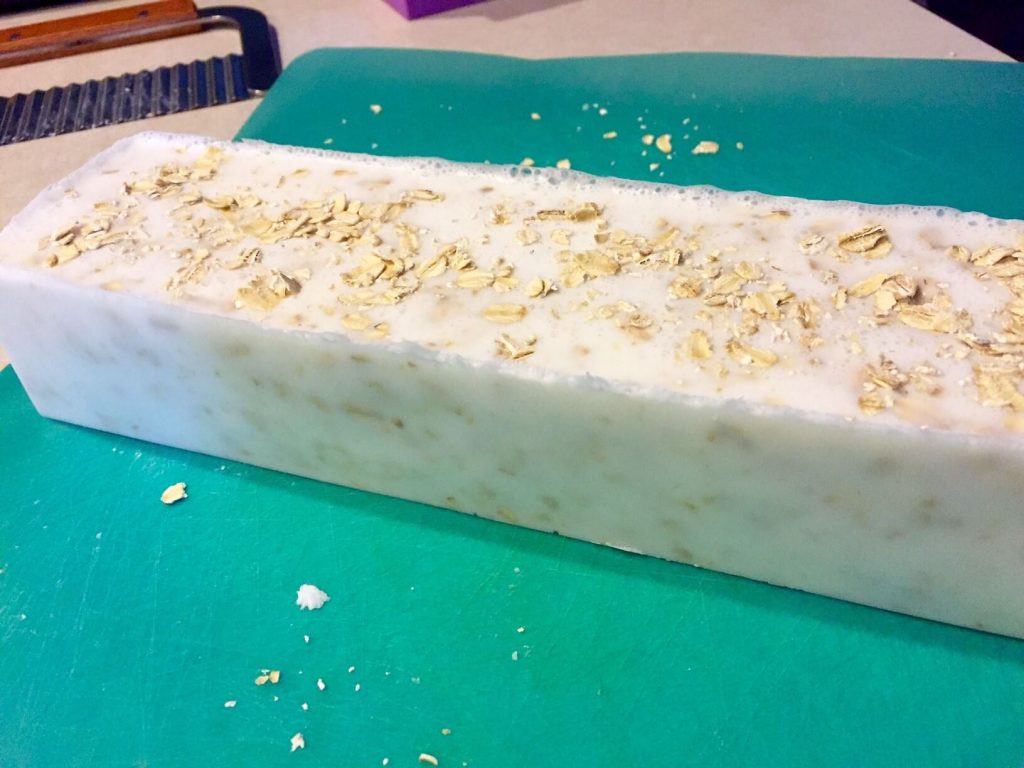
It should look like the picture.
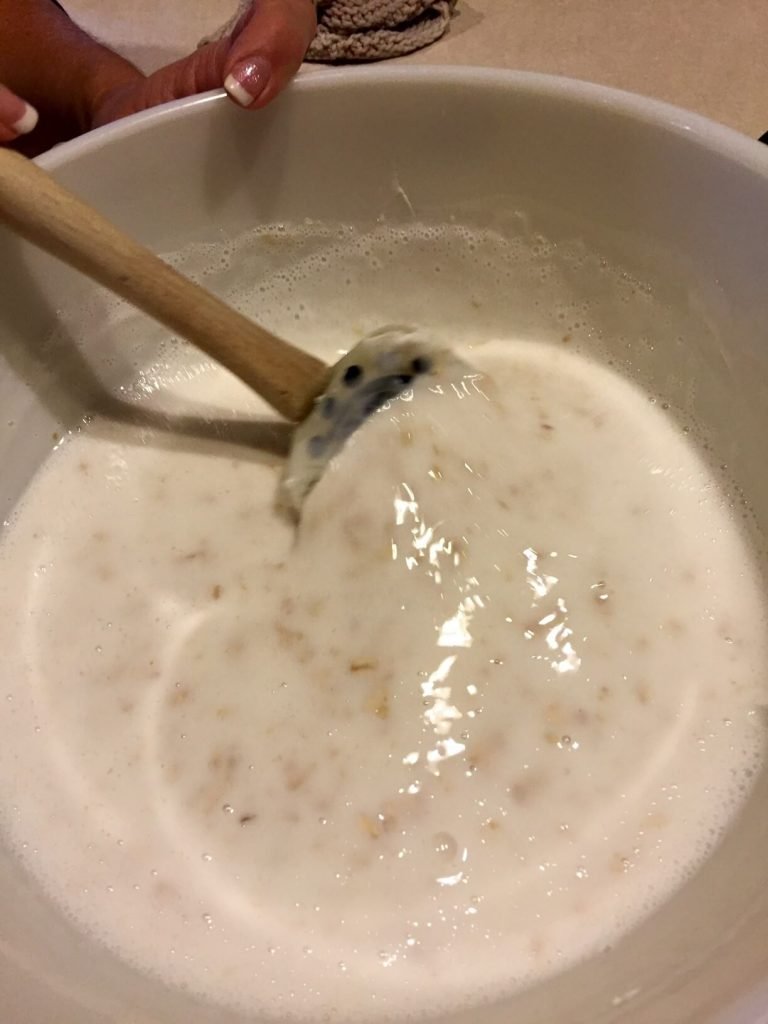
The tan spots that you see in the soap base are pieces of oatmeal. Before adding it we pulsed it a little bit in the food processor.
We added about 1 1/2 cups, but you could add more or less depending on what you prefer. Or you could go without, add herbs, or even add coffee grounds!
For the scent we added about 10-12 drops of essential oils. Our first batch, for the ladies, was lavender. The second was for the guys and we added half peppermint and half eucalyptus.
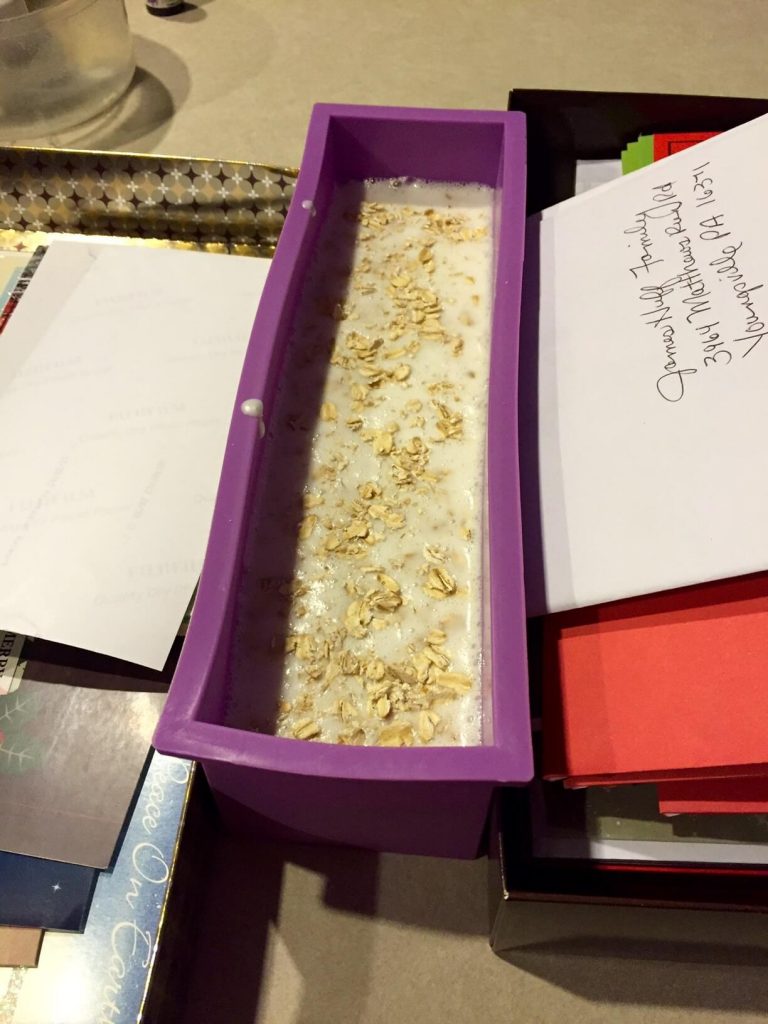
Next we poured the base into our silicone mold.

When I ordered the mold I had seen some with wooden frames, but I didn’t want to spend a lot so I went with just silicone. The sides started to bow quite a bit, so it would have been helpful but we made due with a box on either side to hold it in place haha!
Now it is just a waiting game! You’ll want to wait until the soap has completely cooled. This probably took a couple of hours.
Once it has cooled, with a little wiggling, it slides perfectly out of the mold. We measured out 10 bars at an inch thick and cut through the loaf with our wavy cutter.
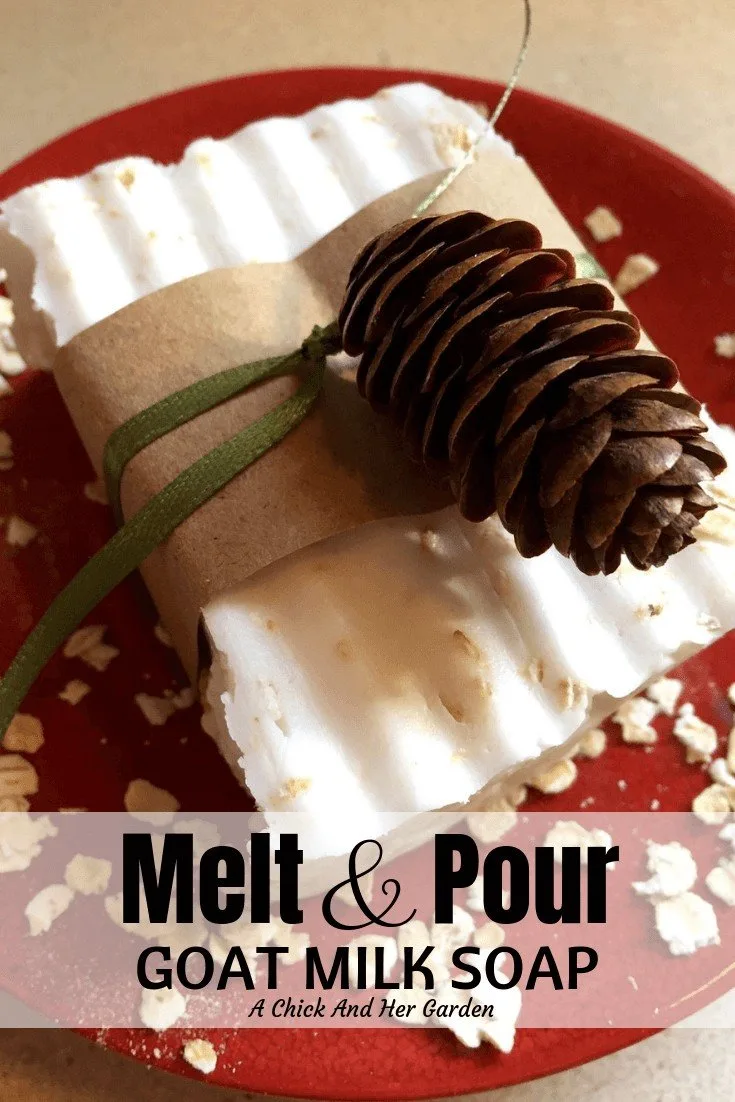
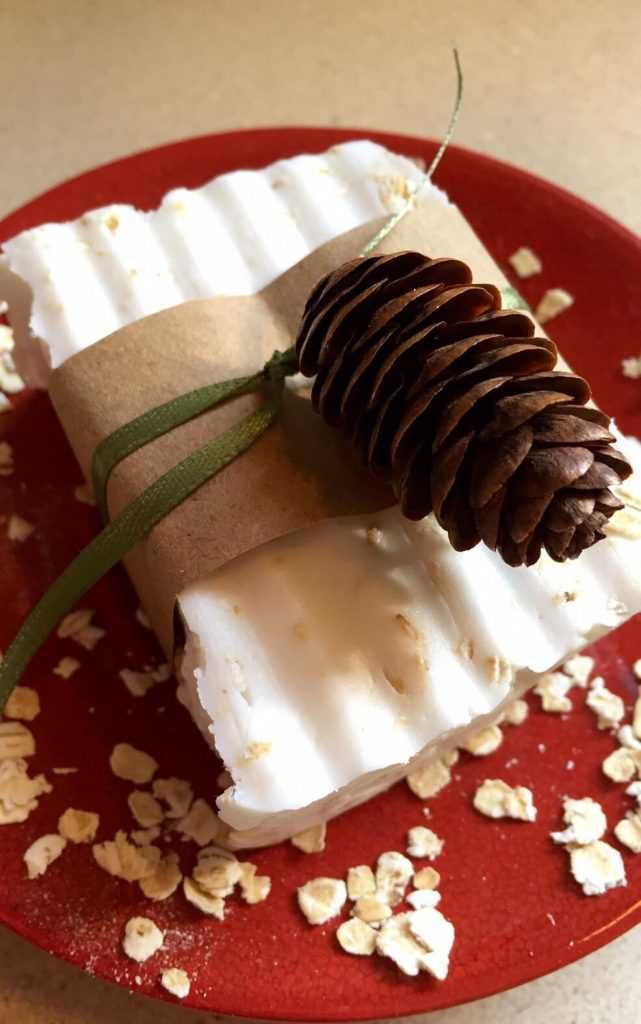
Now all that is left is to make ’em super cute and give them away! We combined our crafty resources with these cute little pine cones, some ribbon, and brown packaging paper.
This project was so easy and so much fun that we ordered more to make another batch or two!
Once you’ve given Melt and Pour a try, step it up and try out my recipe for Cucumber Mint Soap!