Wood Burning Tutorial
When Nick and I got married, our wedding was rustic and old fashioned. In my eyes absolutely perfect! Wild flowers were scattered in mason jars, wood accents, our cake was simple and gorgeous.
It was exactly what I was looking for. We were fortunate that my cousin Jim, or Big Guy :-), owned a lumber mill and donated a tree to us! Yes, a tree!
He cut slabs for us for centerpieces, sections of branches to use as table numbers, and he even made me a tree stump cake pedestal! Thanks Big Guy!!
For the table numbers, my mom bought me a wood burning kit and I burnt the numbers in, rather than painting. It was a process and it took me awhile to get a groove and figure out what worked best for me.
There were so many different pen tips, holding the wood could get awkward and many times I slipped and burned myself. But, it is a skill I’m so glad that I learned!
Our friends Heather and Cody, are getting married (tomorrow!) and for Heather’s shower gift I burnt a quote and their wedding year into a wooden bread board. Well her (soon to be) husband LOVED it and hired me to help with the gift to his groomsmen!
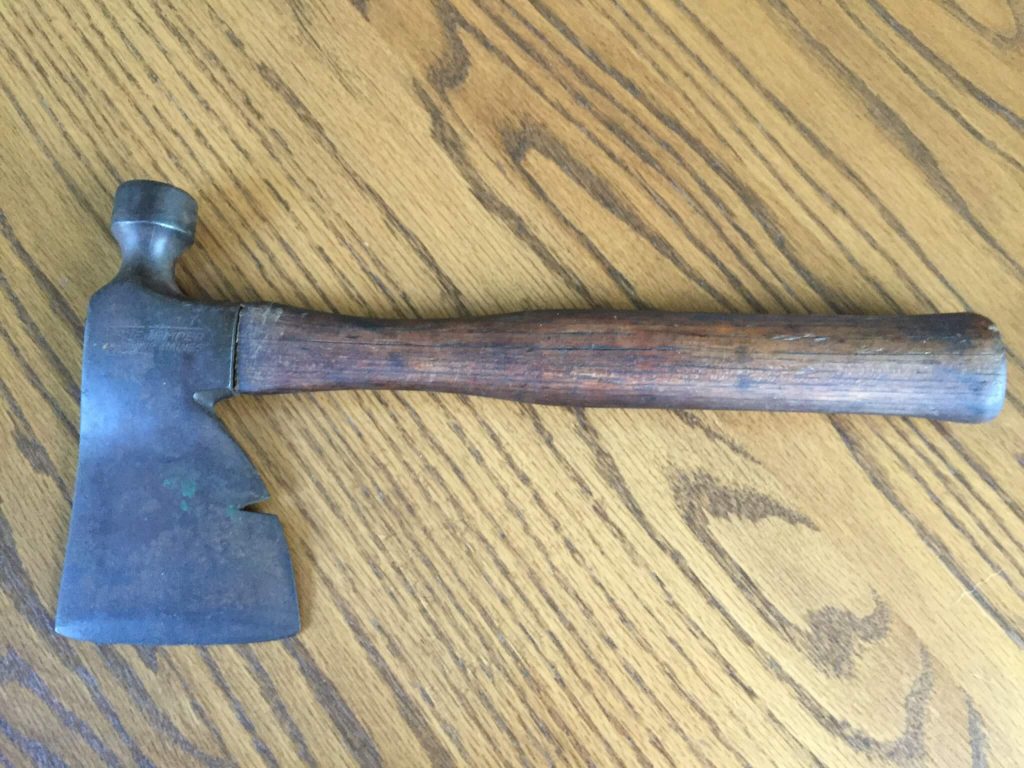
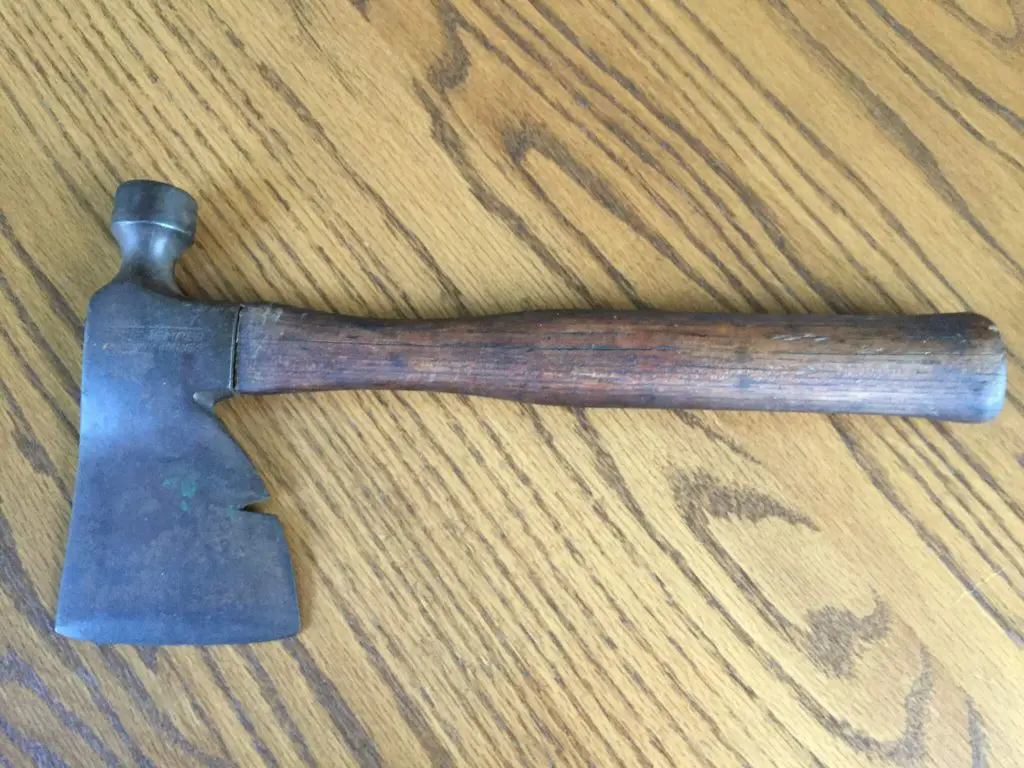
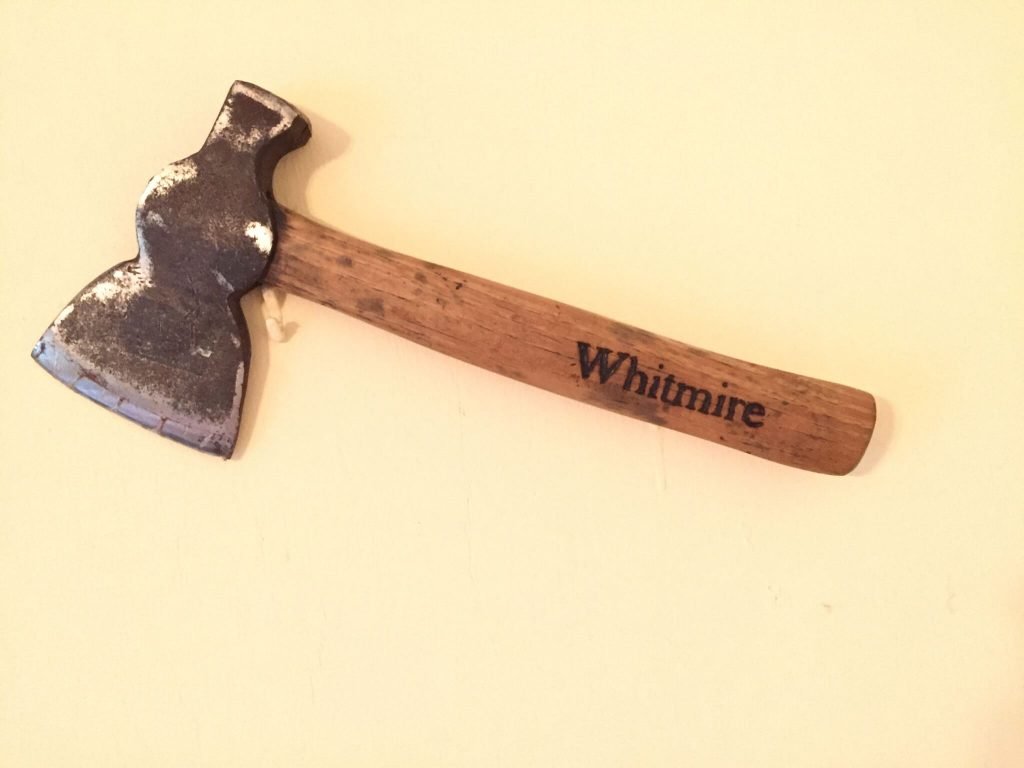
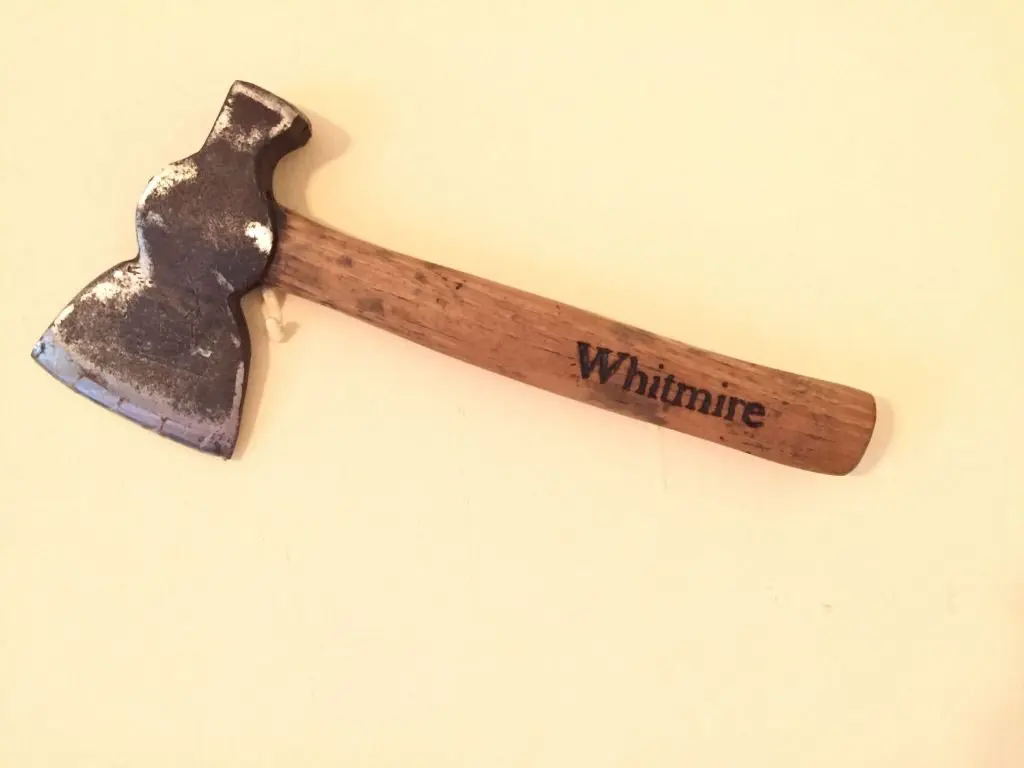
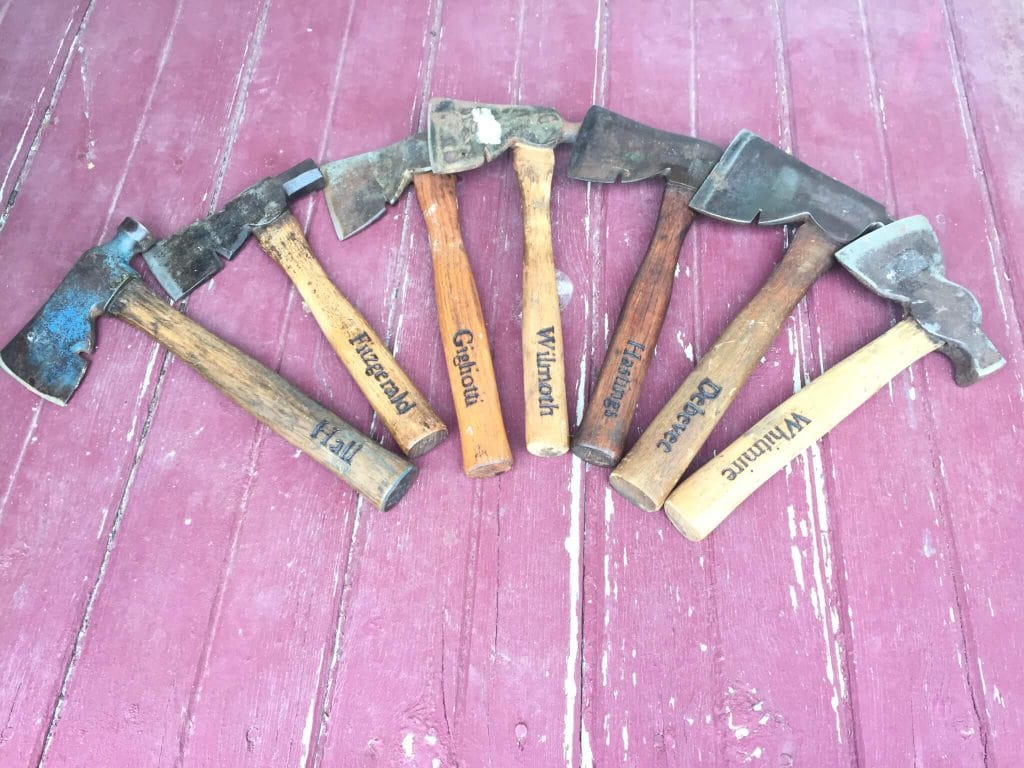
Cody had found a stockpile of antique hatchets at a local antique shop and wanted my help burning the last names of each of his seven (yes SEVEN) groomsmen into the handles. Thank goodness for my creative friends, because this was an amazing idea that I definitely would not have thought of!
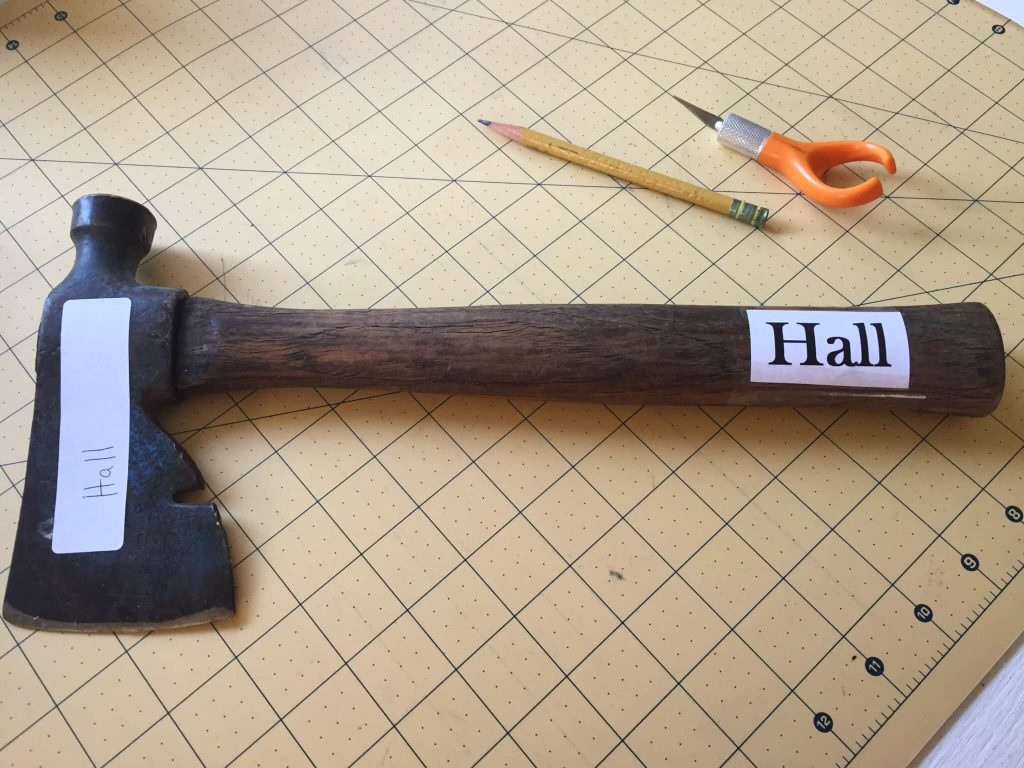

To start out, we picked a font and made a printout that fit the handle. After this, if the wood is soft enough you can trace the outline firmly with a pencil which will leave an indent in the wood after you remove the paper.
So easy! Except that these are beautifully crafted antique hatchets with nice, hard wood. No such luck.
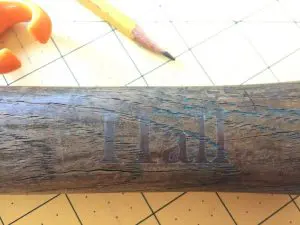
So I figured out a way to work with this. Instead of the pencil, use an exact-o knife to cut out the letters and cut right into the wood. This will leave a visual for you. Some of these handles were pretty dark so I also went through and colored in with a pencil as well.


Now that you have your image or text traced on, it’s time to start burning! Find the tips that work best for what you’re burning.
Because the edges were so close together and pointed, I used a fine point to outline and then a larger tip to fill in the rest.

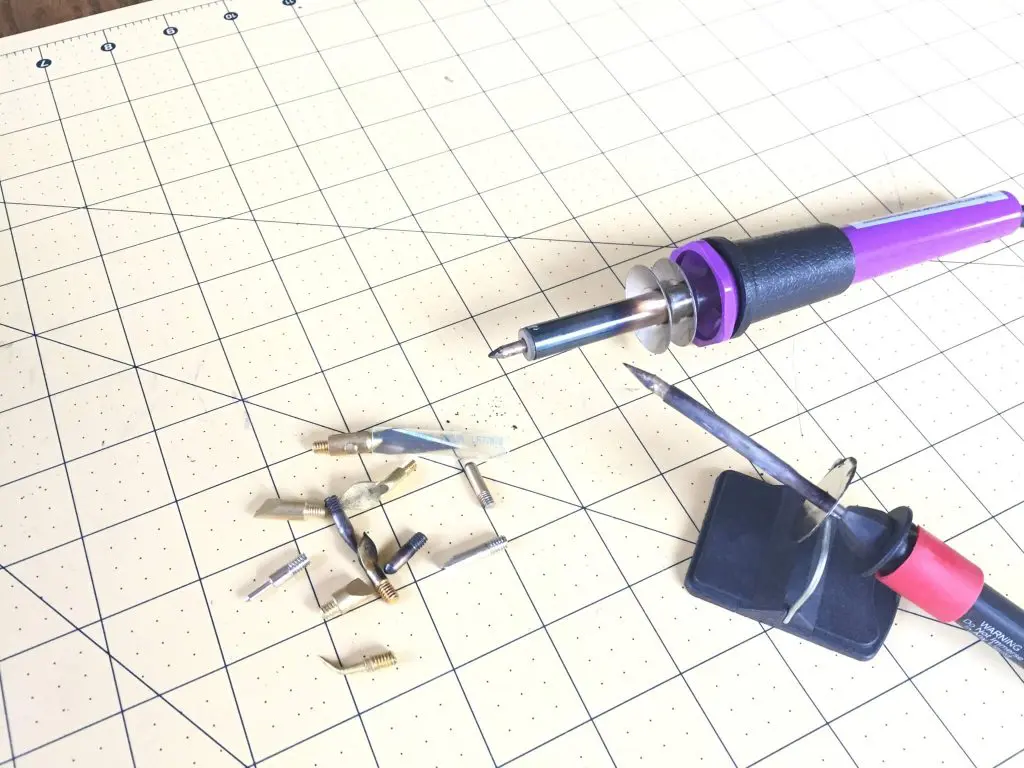
A few tips that are not necessary but helpful:
- It gets smokey! If your eyes are sensitive, you can wear protective glasses.
- if you have a vice it makes it MUCH easier, giving you a spare hand.
- It is HOT!! If you can manage working with leather work gloves, your hands will thank you, there are occasional slips and bumps and I can tell you, IT HURTS!
- Having two pens is totally worth it! Waiting for the tip to cool down to switch out is a HUGE pain!
- Drinking 2 cups of coffee on an empty stomach beforehand is not recommended!
But after all of the hard work, and asking yourself “what did I get myself into?”, it gets easier each time and the results are totally worth it. I can’t wait to see the guys faces when they get their gifts from Cody!
Looking to get your first wood burning set and get started making beautiful crafts? Here’s a great set at Amazon to get you started!

Pin Me For Later!!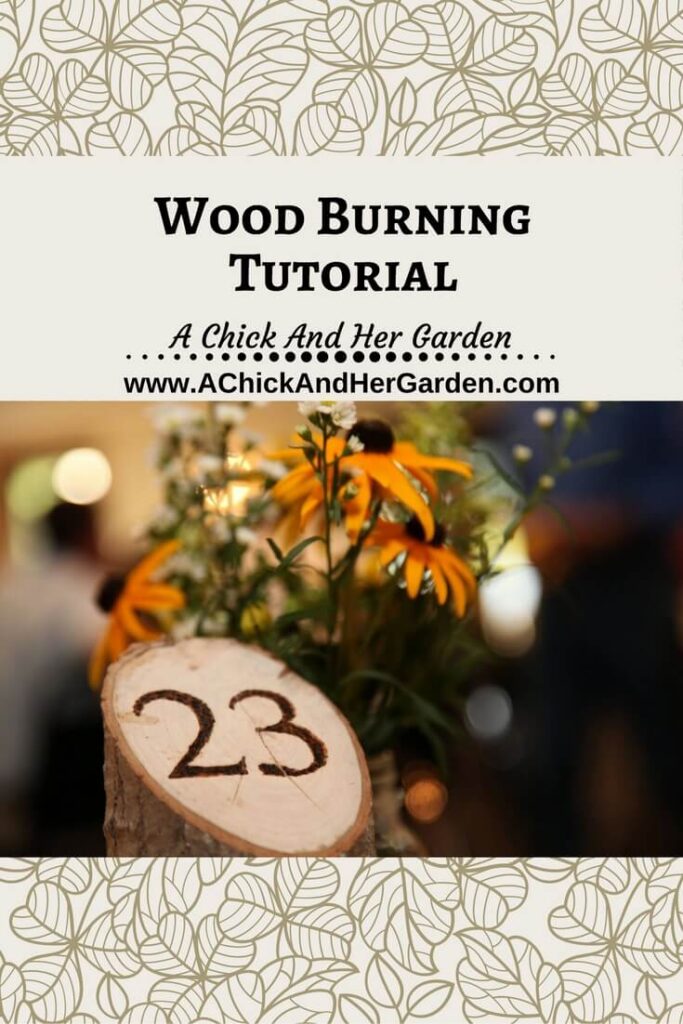


This post is featured on Our Simple Homestead Hop and the Homesteader Hop!
midlifeblogger
Wednesday 14th of December 2016
That's a very unique gift! I like to do woodburning, too, although I'm still learning. I like to practice on wooden spoons. I think they look cute in the utensil holder next to the stove.
Staci
Wednesday 14th of December 2016
Wood burned spoons are sooo cute! This project was a challenge but I'm so glad I was able to do it for our friends!