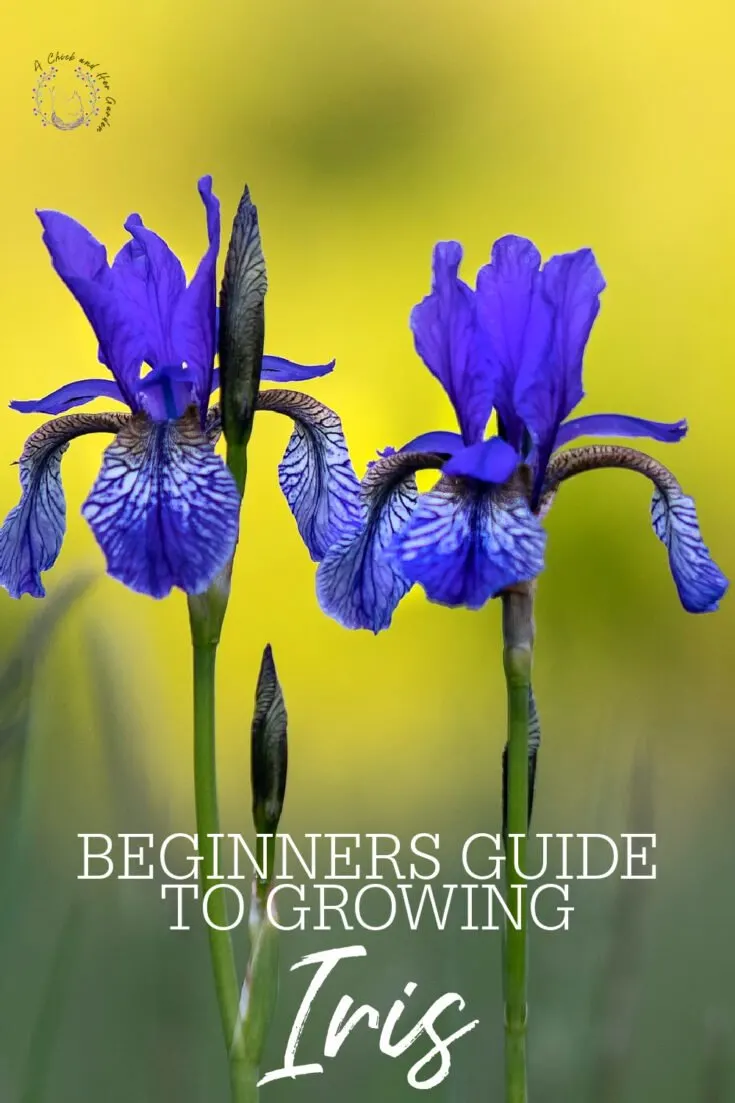
HOW TO GROW IRIS
When Nick and I moved into our home, one of the first gardening tasks I learned was how to grow Iris. I didn’t set out looking to grow it. I had found it planted in various spots around our yard and actually thought it was just a grass.
Then, I got one bloom. Seriously people this stuff was everywhere and out of the huge patches, each at least the size of a large kiddie pool, I had ONE BLOOM.
Something was obviously not right and I set out on a mission to figure out how to grow Iris, with little to no knowledge at the time, of growing perennials.
This page may contain affiliate links. I may earn a small commission when you make a purchase, but it does not effect your cost. Thank you so much for your support of A Chick And Her Garden! ~ Staci
I dug up patches and replanted, read all that I could and asked around to my fellow garden friends. I knew our clay soil was a pain for just about everything else, so I initially thought that was the problem but I was definitely wrong!

So, what did I find out in my quest to learn how to grow Iris? It was beyond easy to grow this Spring perennial!
Share the love! Pin me for others!

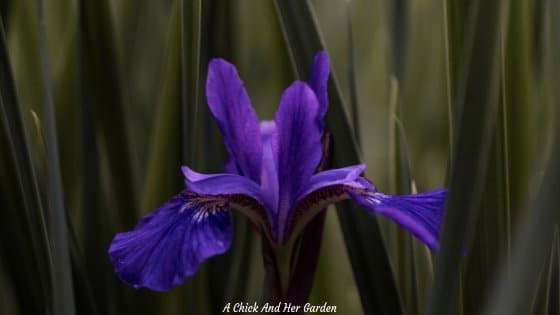
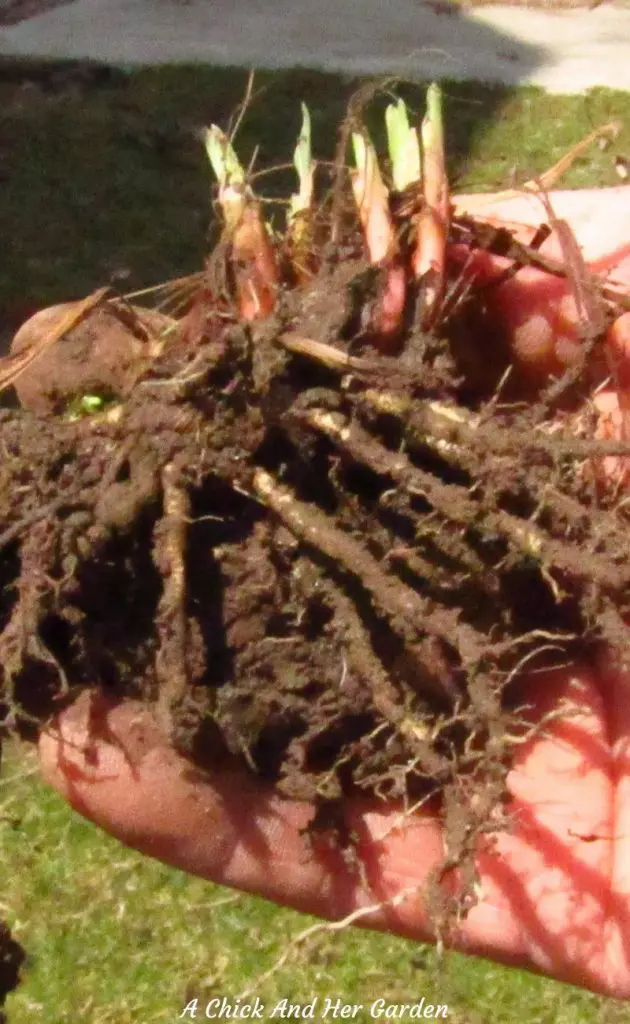
First, let’s start with how an Iris grows. A lot of Spring perennials are actually bulbs. Think tulips and daffodils. Iris grow on rhizomes, which are actually runners that grow right at the surface of the soil.
They also love acidic, clay soils and enjoy wet feet. So we are winning with our yard! I don’t think it dried out last summer until July! My tomatoes weren’t really having it, by the way.
So if the soil wasn’t the problem, why weren’t my Iris’ blooming???
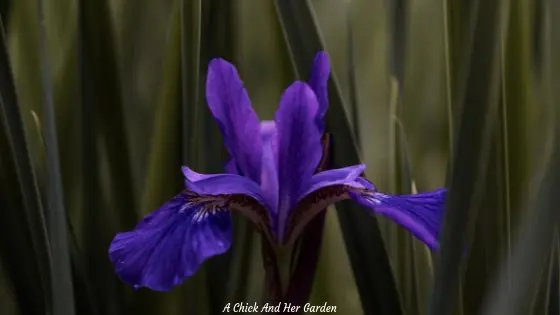
They were all planted in shade! I don’t know if the areas were originally sunny and the trees grew that much. Or, the previous home owner was not a gardener. But those plants were definitely in the wrong place!


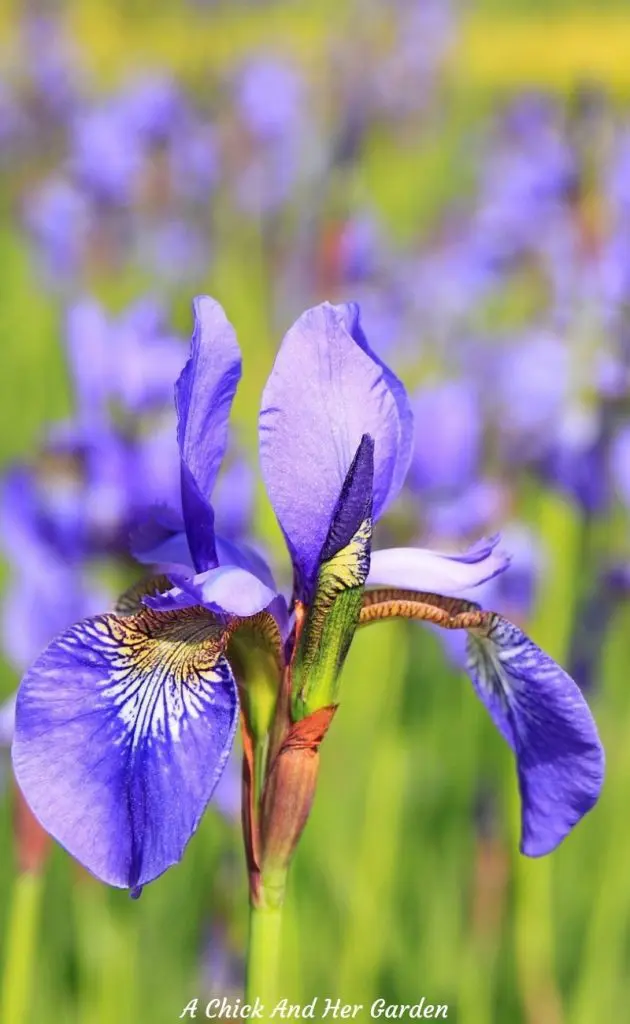
I started digging them up and transplanting them into bright, sunny spots around the yard. My Iris are absolutely beautiful now!
How to divide and transplant Iris?
Technically you should be dividing them in the fall. This way you will get blooms the “first year.”
I say technically because I actually prefer to divide mine in the early Spring. I’m talking those few sunny days in March when you just have to get outside and do something!
It’s easiest for me to divide Iris in the Spring because you can see their shoots just starting and you are competing with the other plants around them. I may not have prolific blooms in the first year of transplant, but they’ll be there next year!
Related Posts:
Every Homestead Needs a Cutting Garden
How to Grow Pansies as a Cut Flower
23 Reasons Why You Need Nasturtium In Your Garden
Now that you know when you should divide Iris, but that you CAN actually do it whenever you want :-), here’s how to divide Iris.
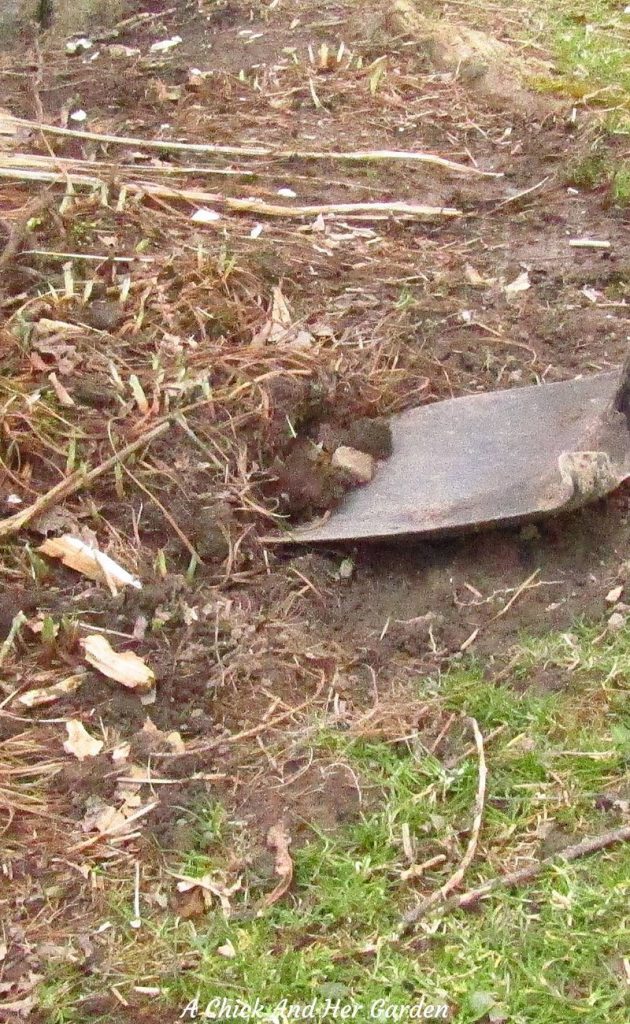
I mentioned before that the rhizomes grow in runners at the surface of the soil. Simply slide the tip of your shovel about an inch or two under the rhizomes and lift.

Break the clumps apart, it’s okay to actually break the roots, and transplant to a new location, pot up for a friend, or sell on your roadside stand or at market! That’s just one way we Make Money on Our Homestead, you can find more here!

Turn up the soil in your new location and plant your rhizome clump.
Firm the soil around and water thoroughly. Remember Iris likes “wet feet!”
Next step? Watch your Iris flourish and try to be patient waiting to see them each Spring!