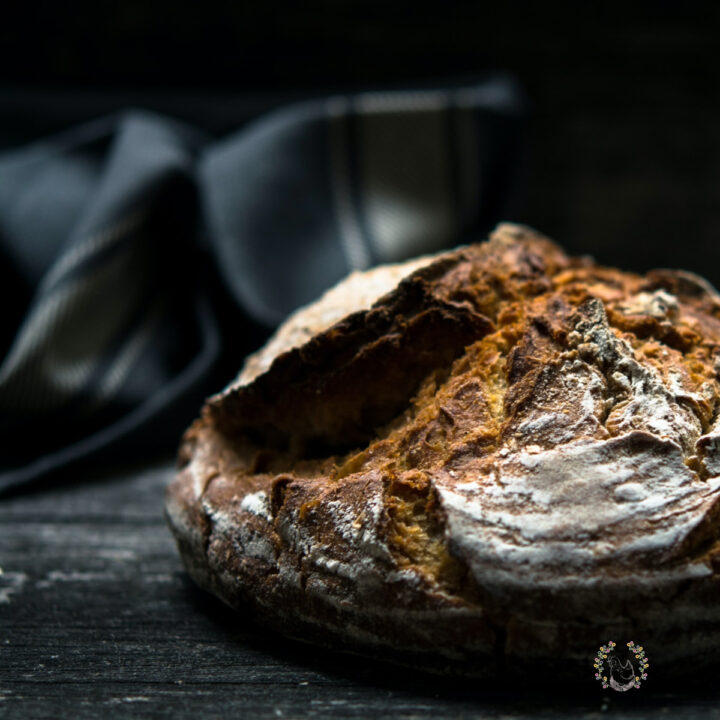
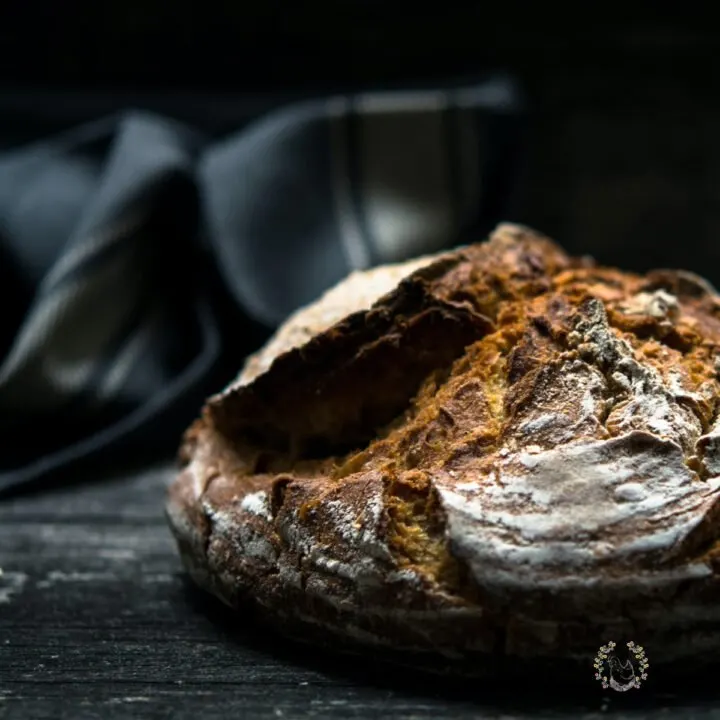
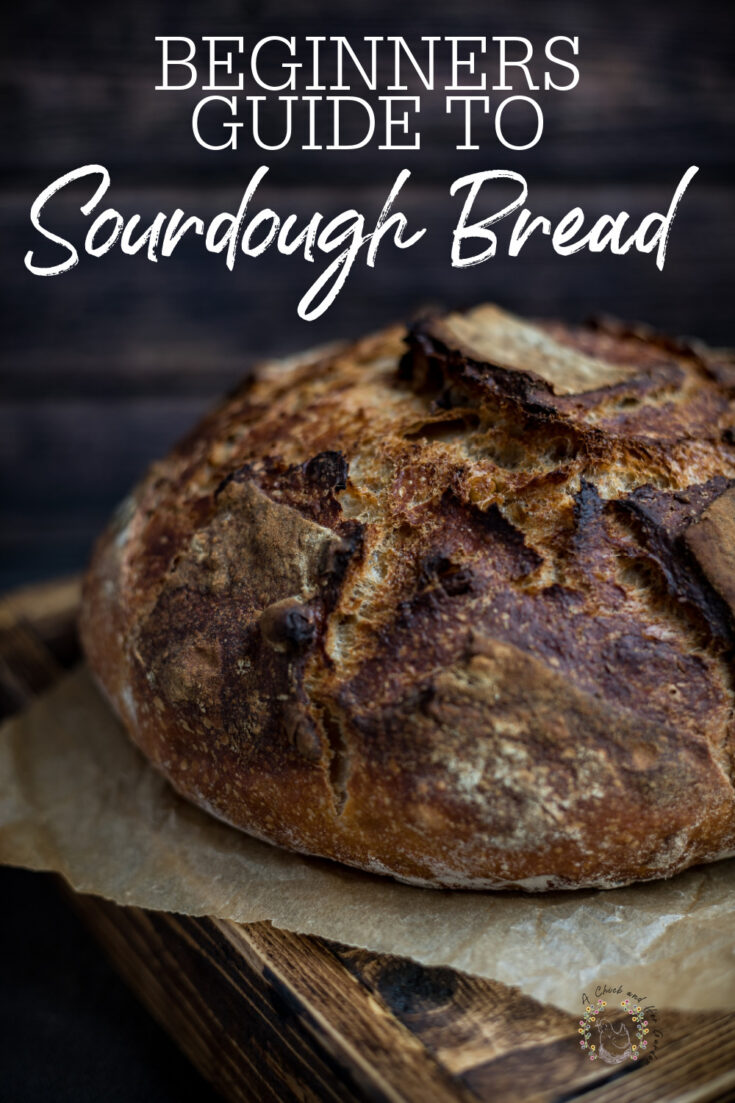
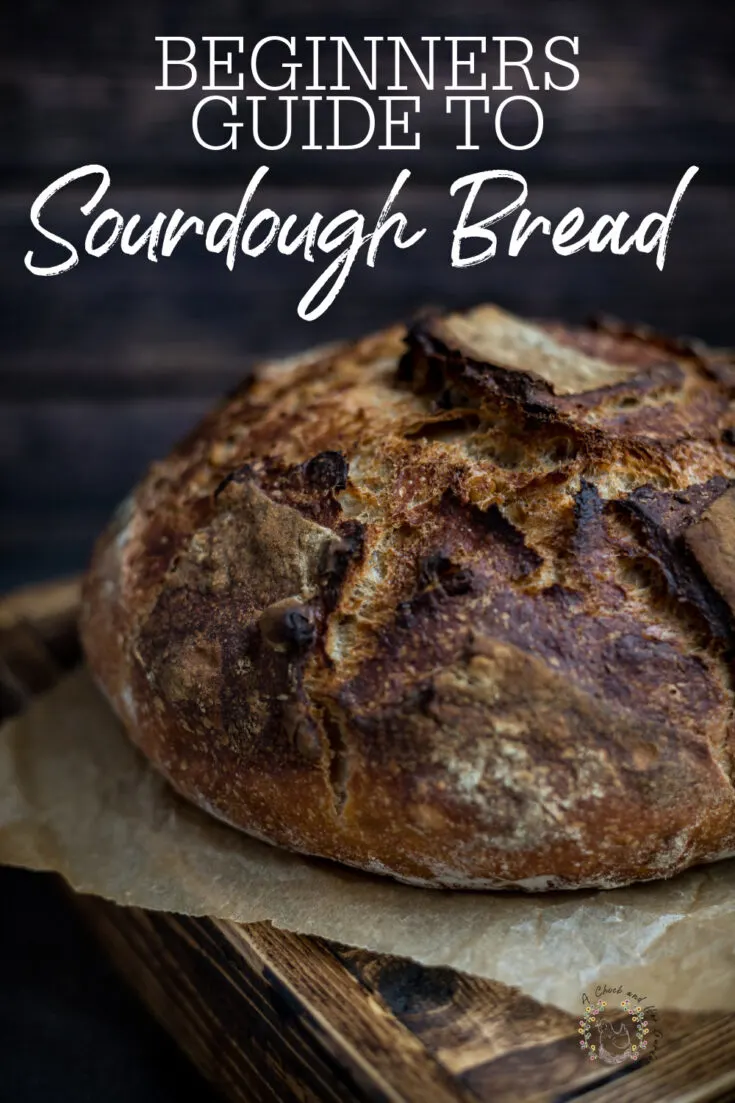
How to Make Artisan Sourdough Bread
It’s been my goal for a couple of years to learn how to make the perfect Artisan Sourdough Bread!
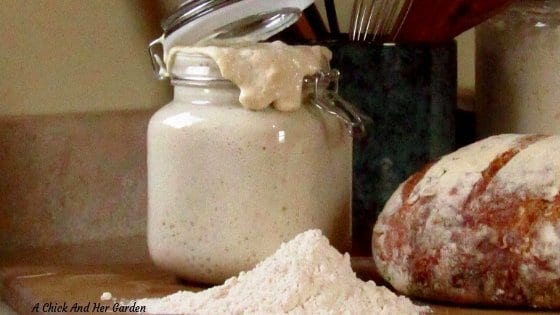
I started by making my own sourdough starter from scratch. And for a while I was able to make a few other sourdough recipes, that turned out amazing, but I couldn’t master the bread for the longest time!
I started with Sourdough English Muffins, Dangerously Addicting Sourdough Cinnamon Rolls, Sinful Sourdough Pretzels, and Sourdough Pizza Bombs Recipe.
This page may contain affiliate links. I may earn a small commission when you make a purchase, but it does not effect your cost. Thank you so much for your support of A Chick And Her Garden! ~ Staci
But my bread always turned out dense and way less than satisfying!
That is until I learned a few tricks!
Now, I’m making Artisan Sourdough Bread almost daily! And I can tell you that it is way easier than you would expect!
So, before we get into the step by step details, what are the tricks that I learned?
- Your Sourdough Starter needs to be ACTIVE! Seems obvious right? Well I’m not talking fed that day. I mean, bubbling over the top, fed consistently for three days active.
- Measure by weight. The rest of my sourdough recipes are measured out your standard way. Cups, teaspoons, etc. But, my Artisan Sourdough Bread is measured in grams with a kitchen scale.
- This is not a dough that, as our friend Joe says, gets “kneaded the crap out of.” It is folded, gently, and hardly at all. The physical work that is put into Artisan Sourdough is practically non-existent. It wouldn’t even add up to more than a few minutes.
- The real time that is put into Artisan Sourdough Bread is patience. Patiently wait for it to ferment and proof.
Share the Love! Pin me for others!
Let’s start by going over what supplies and ingredients you will need to make this gorgeous bread for yourself!
Sourdough Tools
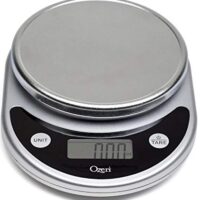
- Kitchen Scale – Not only is this useful for baking, but great for portioning out bulk food and a must for making soap!
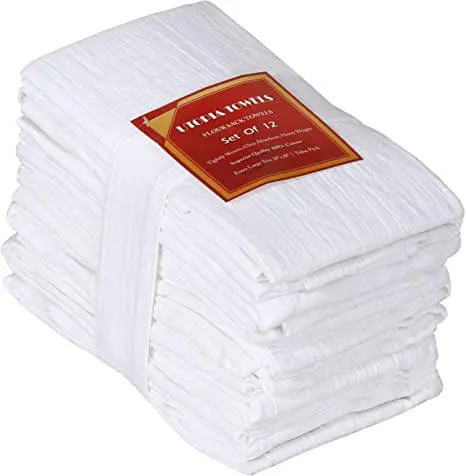
- Tea Towels – These will also come in handy if you decide to make your own Goat Cheese. And seriously, does anything sound better than some homemade sourdough bread with goat cheese smeared on it???
- Parchment Paper – If you’re a baker, I’m sure you have plenty of this on hand! 🙂
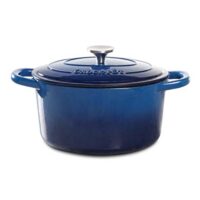
- Dutch Oven – This is a little bit of an investment if you don’t already have one. But I use my dutch oven so much that it is always sitting on my stove! And why shouldn’t it? It’s beautiful! Great for making chili, soups and stews, roasts and even desserts!
Sourdough Ingredients
- 50 g Sourdough Starter
- 500 g Flour
- 350 g Water
- 10 g Salt
- Seriously four ingredients, but basically three, considering starter is simply made of flour and water!
Instructions
I mentioned before that Artisan Sourdough Bread doesn’t take a lot of work, but it needs time.
So if you work out of the home or will be busy it’s best to make it on the weekend when you have the time to keep an eye on it.
I won’t lie though, I’ve gotten side tracked before and left my dough for way longer than needed and it turned out fine.
To start, make sure you have an active sourdough starter.

Place a large bowl on your scale, set to measure in grams, and tare the scale so that it is reading zero.
Pour your sourdough starter into the bowl.
Tare the scale again and add the water.
Whisk the sourdough starter and water with a fork.
Yep, a fork. Not a whisk, because it will be a huge pain to clean and for some reason the starter clings to a whisk but doesn’t stick to your fork. Who knows? It’s one of those bizarre baking anomaly’s.
Tare your scale again and add your flour and salt.
Combine the flour and salt with the starter mixture, with clean hands, just until mixed.
Cover the bowl with a damp tea towel and allow it to rest for an hour.
After resting, remove the towel and fold the dough once or twice around the dish.
To do this, scrape your hand down the side of the bowl to the bottom.
Pull the dough up to the center and press down.
Do, this all the way around the dish, until you see that the dough is starting to smooth out. As I mentioned, it should only take once or twice around.
Replace the damp towel, re-wet it if you need to, and allow it to rest for another 8 to 12 hours.
I have a drafty kitchen in the winter so unless I’ve been baking other treats like Sourdough Cinnamon Rolls it will take about 12 hours.
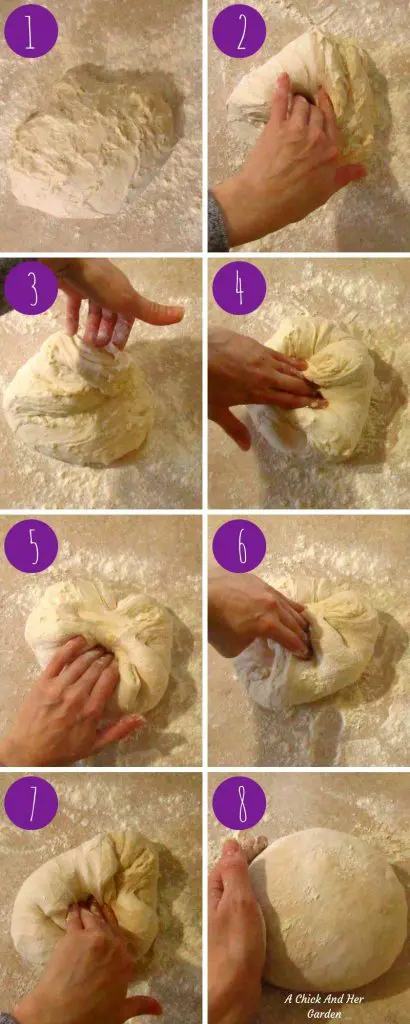
After your last rise, gently turn your dough out onto a lightly floured surface. (There is a graphic below to show the next few steps.)
Fold the dough, like you did in the bowl, but this time more gently. You don’t need to press into the center as hard, because you could lose some of those air pockets.
Gently turn the dough over so that the folds are on your work surface. You shouldn’t need to add extra flour, because at this point you’ll want a little bit of a stick.
Place your hands on either side of your dough and start turning it counter clockwise. This will tighten the outside of your dough to give you that nice Artisan Sourdough Bread crust!

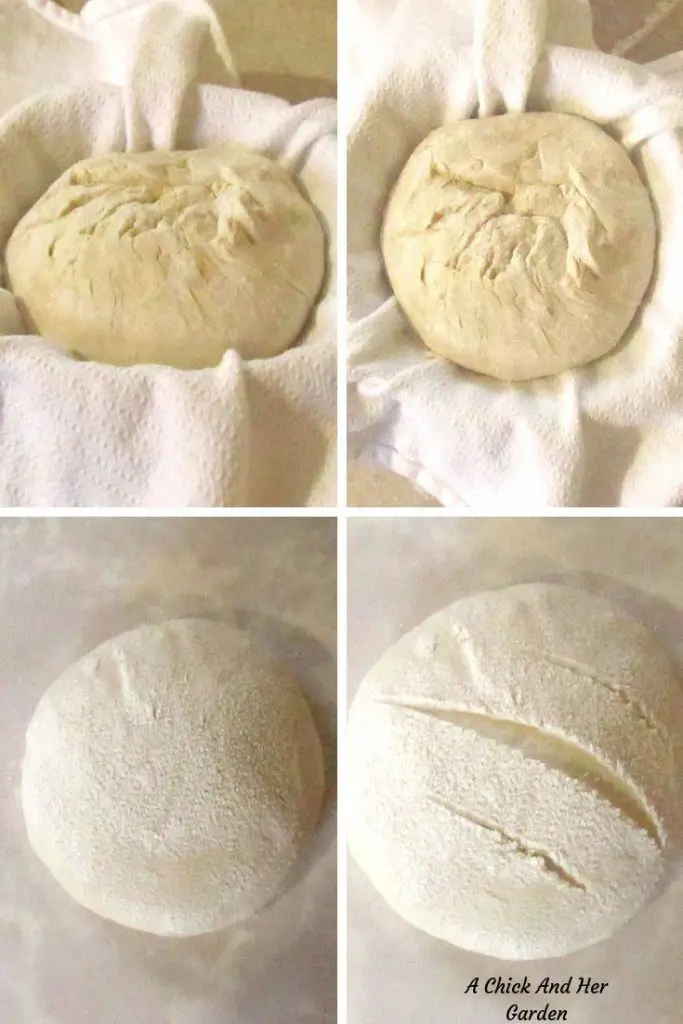
Line another medium bowl with another tea towel and gently transfer your dough, placing it in the bowl with the seem side up.
Fold the towel over the dough and allow it to rest for another hour.
Preheat your oven to 450° F.
After the final rise, place a square of parchment paper over the bowl, big enough to use it to lift in and out of your dutch oven.
Place a cutting board over that and turn it over.
Score the top of your dough with a sharp, or serrated, knife. You can just do one score, or get fancy and add little designs!

Use the edges to lift and transfer your dough to the Dutch Oven.
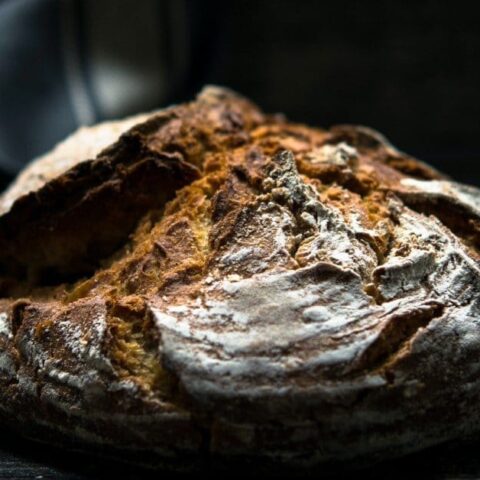
Cover with the lid and put in the oven for 20 minutes.
Remove the lid and put back in the oven for 30 minutes.
Remove the bread from the dutch oven and place it directly on the rack for another 10 minutes to finish off the crust.
Transfer the bread to a cooling rack for an hour before cutting.
I know.
This sounds impossible.
You have to wait an entire hour, after all of that work, before you can enjoy it?!?!?!
Trust me it’s worth it! Pass the time by listening to your bread! Seriously! It should be crackling!
What is your favorite bread?? Tell me in the comments!

Artisan Sourdough Bread
Ingredients
- 50 g Sourdough Starter
- 500 g Flour
- 350 g Water
- 10 g Salt
Instructions
- To start, make sure you have an active sourdough starter.
- Place a large bowl on your scale, set to measure in grams, and tare the scale so that it is reading zero.
- Pour your sourdough starter into the bowl.
- Tare the scale again and add the water.
- Whisk the sourdough starter and water with a fork. Yep, a fork. Not a whisk, because it will be a huge pain to clean and for some reason the starter clings to a whisk but doesn't stick to your fork. Who knows? It's one of those bizarre baking anomaly's.
- Tare your scale again and add your flour and salt.
- Combine the flour and salt with the starter mixture, with clean hands, just until mixed.
- Cover the bowl with a damp tea towel and allow it to rest for an hour.
- After resting, remove the towel and fold the dough once or twice around the dish.
- To do this, scrape your hand down the side of the bowl to the bottom. Pull the dough up to the center and press down. Do, this all the way around the dish, until you see that the dough is starting to smooth out. As I mentioned, it should only take once or twice around.
- Replace the damp towel, re-wet it if you need to, and allow it to rest for another 8 to 12 hours. I have a drafty kitchen in the winter so unless I've been baking other treats like Sourdough Cinnamon Rolls it will take about 12 hours.
- After your last rise, gently turn your dough out onto a lightly floured surface. (There is a graphic below to show the next few steps.)
- Fold the dough, like you did in the bowl, but this time more gently. You don't need to press into the center as hard, because you could lose some of those air pockets.
- Gently turn the dough over so that the folds are on your work surface. You shouldn't need to add extra flour, because at this point you'll want a little bit of a stick.
- Place your hands on either side of your dough and start turning it counter clockwise. This will tighten the outside of your dough to give you that nice Artisan Sourdough Bread crust!
- Line another medium bowl with another tea towel and gently transfer your dough, placing it in the bowl with the seem side up.
- Fold the towel over the dough and allow it to rest for another hour.
- Preheat your oven to 450° F.
- After the final rise, place a square of parchment paper over the bowl, big enough to use it to lift in and out of your dutch oven.
- Place a cutting board over that and turn it over.
- Score the top of your dough with a sharp, or serrated, knife. You can just do one score, or get fancy and add little designs!
- Use the edges to lift and transfer your dough to the Dutch Oven.
- Cover with the lid and put in the oven for 20 minutes.
- Remove the lid and put back in the oven for 30 minutes.
- Remove the bread from the dutch oven and place it directly on the rack for another 10 minutes to finish off the crust.
- Transfer the bread to a cooling rack for an hour before cutting. I know. This sounds impossible. You have to wait an entire hour, after all of that work, before you can enjoy it?!?!?!
- Trust me it's worth it! Pass the time by listening to your bread! Seriously! It should be crackling!
Recommended Products
As an Amazon Associate and member of other affiliate programs, I earn from qualifying purchases.


Nutrition Information:
Yield: 10 Serving Size: 1 sliceAmount Per Serving: Calories: 191Total Fat: 1gSaturated Fat: 0gTrans Fat: 0gUnsaturated Fat: 0gCholesterol: 0mgSodium: 390mgCarbohydrates: 40gFiber: 2gSugar: 0gProtein: 5g
Staci
Thursday 21st of May 2020
Beware this Sourdough Bread can be addictive! Yum!