I Survived My First Time Pressure Canning And You Will Too!
Have you ever seen one of those children’s movies where the furnace turns into a monster and screams at them??? I have wanted a pressure canner for a long time, and finally got one!
** This page contains affiliate links. Purchasing from these helps to support our site, giving us a small commission without increasing the rate you pay. Thank you for your support of A Chick And Her Garden! ~ Staci
My mother and father in law, Tom and Linda got me a T-Fal Pressure Canner and Cooker for Christmas this year and I couldn’t wait to use it! As I’ve said before, everyone is really starting to get me. HA!
But my first time using it I felt like that poor child hiding around the corner. I was just waiting for it to attack!
Pin Me For Later!!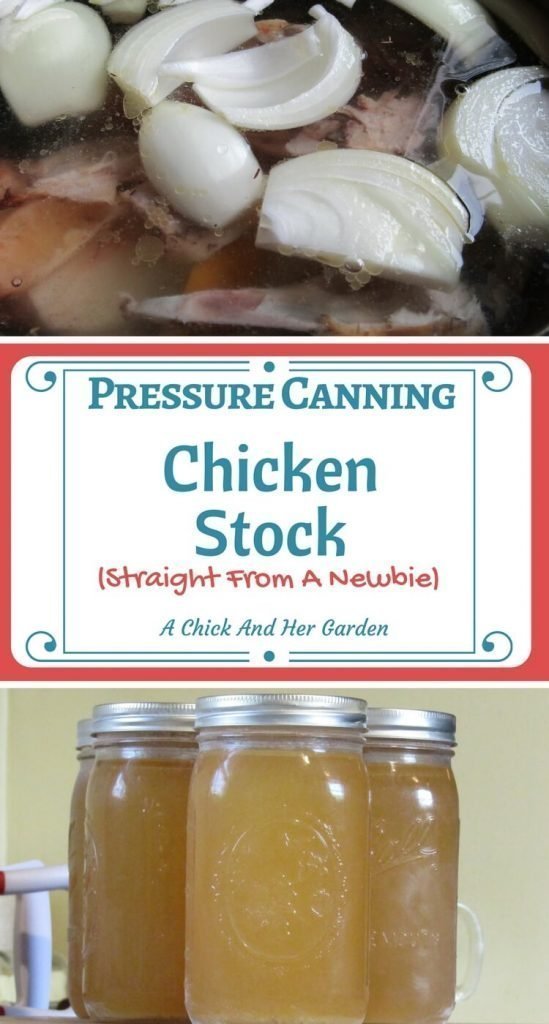


Curiosity got the best of me and I had to give it a shot (even though I made a double batch of Chicken Tortilla Stoup, and hubby only left me two quarts!)
Well, I’m still here! With my fear I totally forgot to take pictures, so that just means I’ll have to give it another go. This time, with a fresh batch of homemade chicken stock.
I had two roosters that I had to get out of the freezer, so I made a double batch of Chicken and Biscuits, which I did manage to get frozen before Nick got a hold of it! This gave me enough chicken bones to get a nice sized batch of stock.
Making The Stock
Before you can make a stock, you need bones and leftovers! And with my stock, all you need for ingredients are water, apple cider vinegar, an onion and the leftovers of The Perfect Roast Chicken.
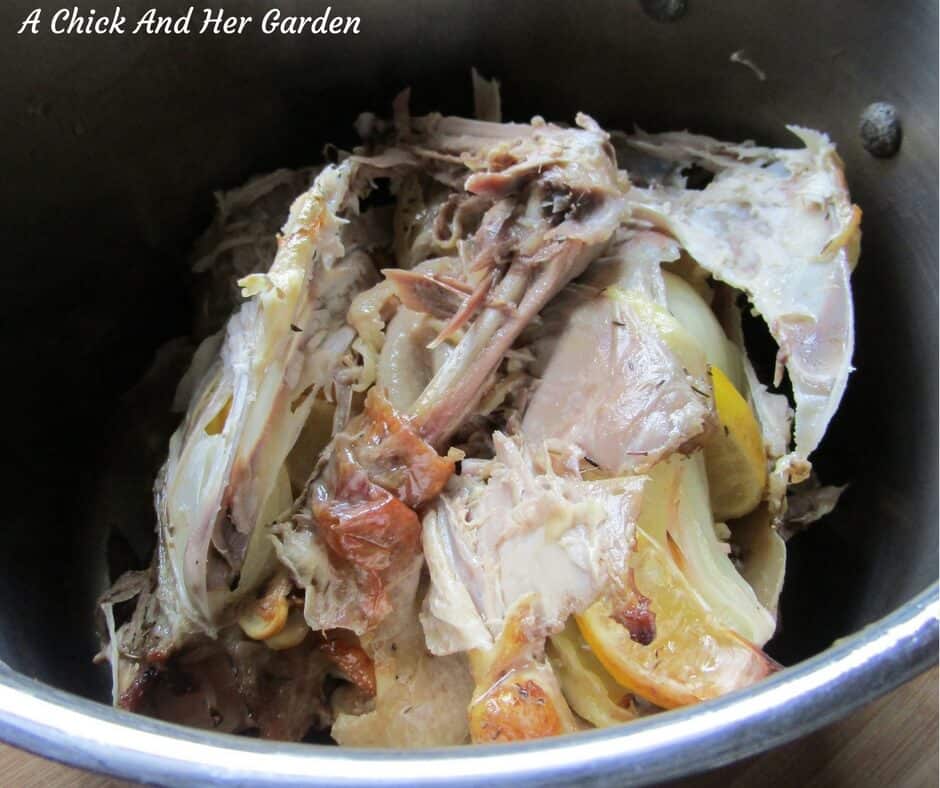

When I say leftovers, I mean the bones, skin and everything that you have stuffed your chicken with before roasting.
Start by cleaning your roast chicken and setting the meat aside. Put EVERYTHING in a large stock pot. Quarter and add your extra onion and add a tablespoon of apple cider vinegar. Then cover with cold water.
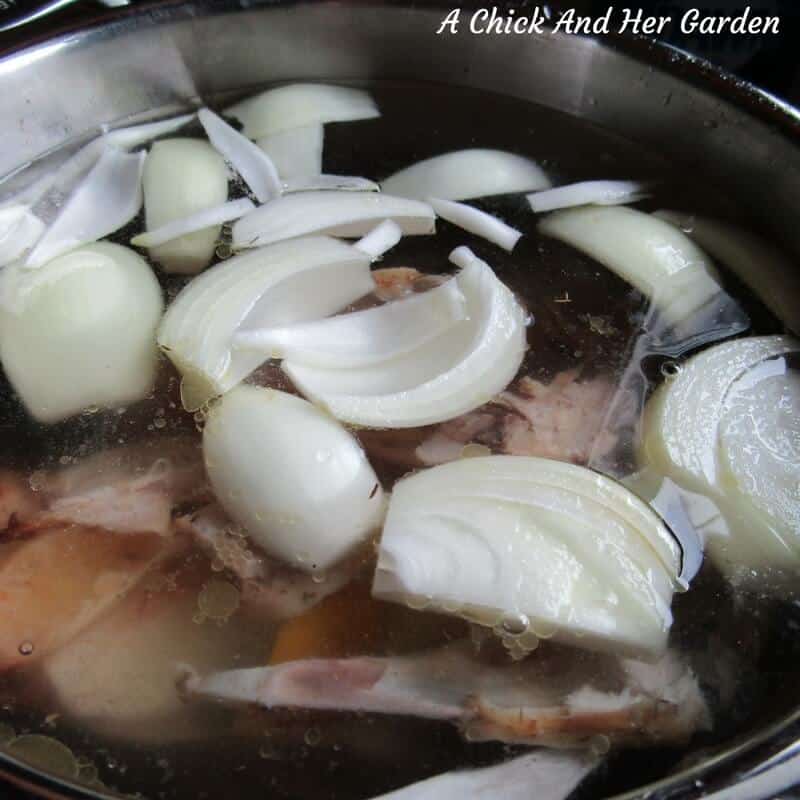

I usually fill it to about an inch from the top of the pot. Allow this to sit for about an hour before cooking, to allow the vinegar to pull nutrients from the bones.
Put over medium low heat and just let it cook down. Stir it occasionally and keep an eye on the color.
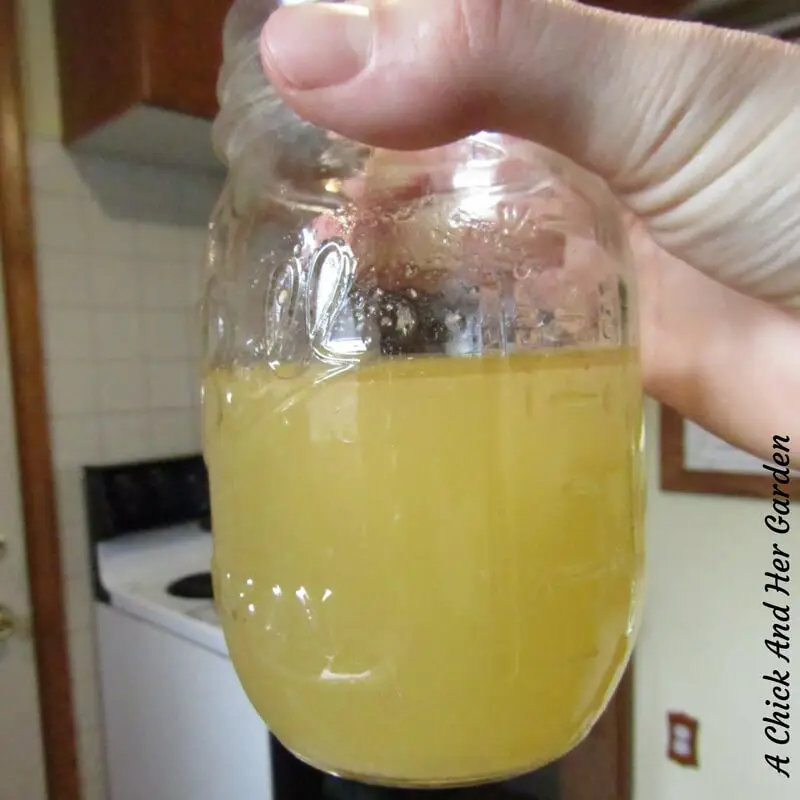
I let it cook down for most of the day, starting in the morning and finishing in the evening. Your stock will be rich and yellow. (I just eyeball and taste test.)

To filter the stock I just dump it through a colander into a large bowl.
*If you don’t like bits of chicken in the stock, line your colander with cheese cloth.
Before canning, return it to the pot and bring to a low boil.
You Can Do This! Let’s Can!
While your prepping, add water to your pressure canner and put it on the heat to get started heating the water. You’ll thank me for that! “A watch pot never boils!”
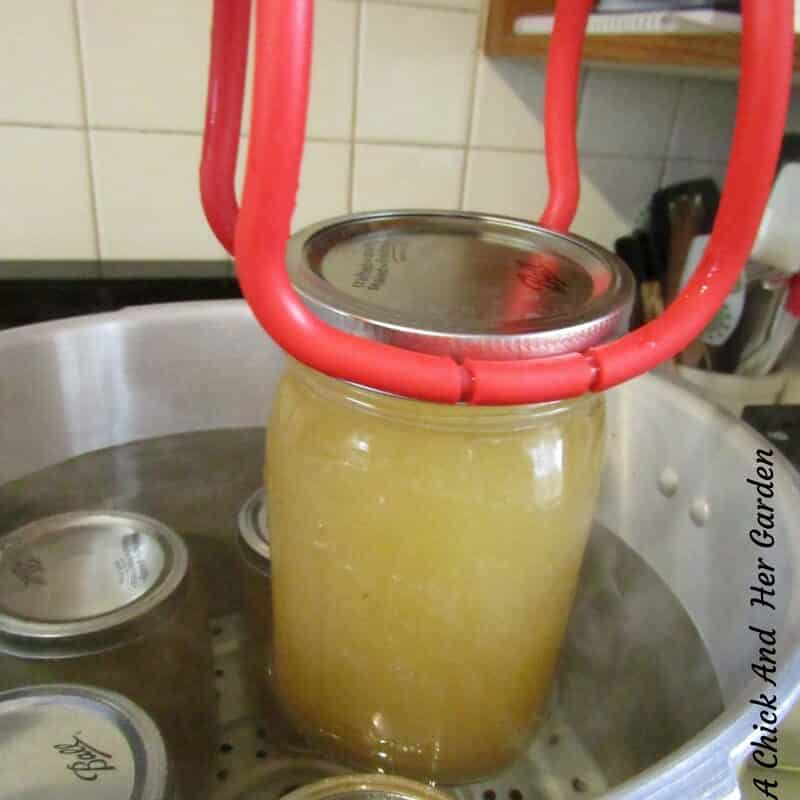
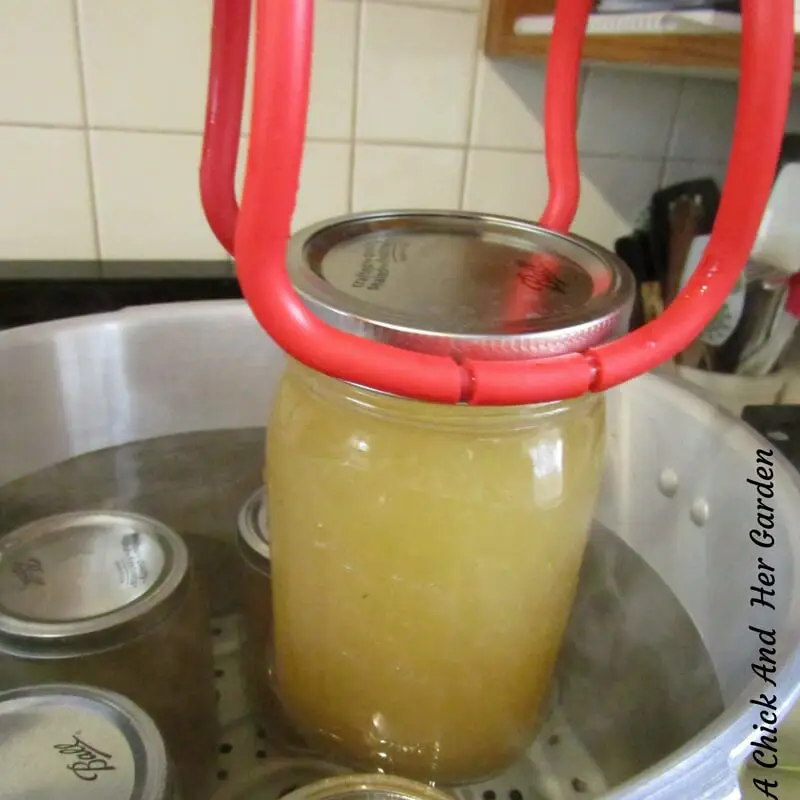
Run your jars and lids through the dishwasher to heat and sterilize. When they are finished funnel your hot stock into the hot jars.


Wipe the rims and place the lids on. Add the ring and hand tighten.
Use tongs to place your jars in the hot water.
After you have place all of your jars in the canner, add the lid and latch, turning the heat to high.
If you have this operating valve on your canner, turn it to the steam setting while your canner heats all the way up.

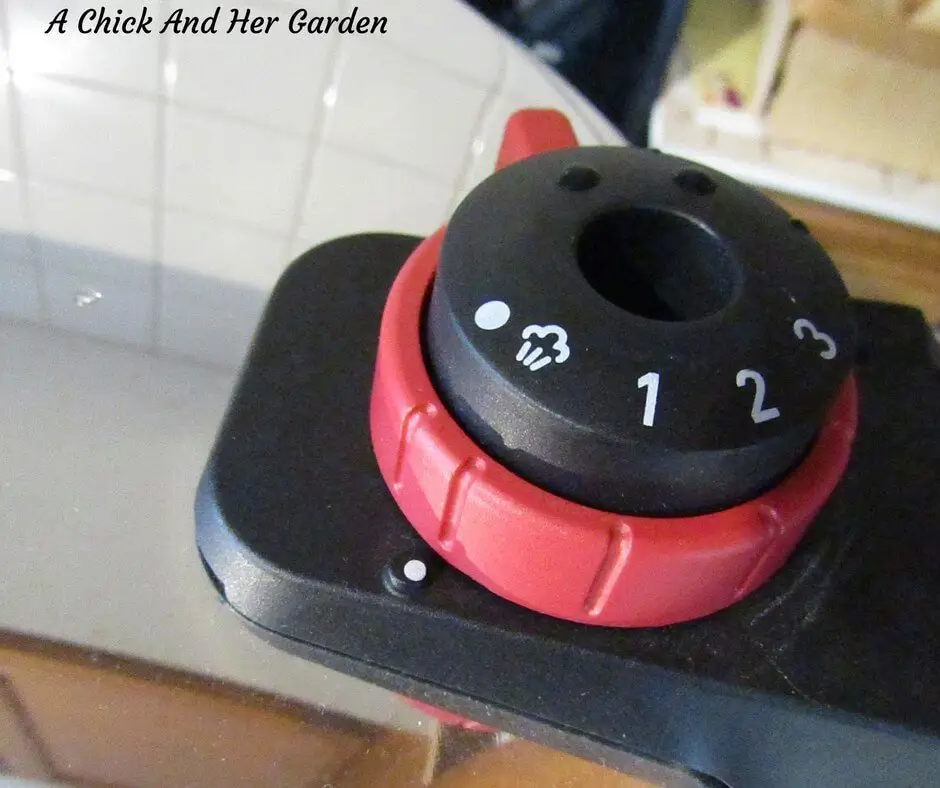
Once steam starts coming out of the operating valve turn it to setting 2.


Keep your heat on high until the pressure reaches 11 lbs, and then reduce the heat to medium high and set your timer. You will need 25 minutes for quart jars and 20 minutes for pints.
When your timer goes off, put on an oven mitt (seriously that steam is hot!) and turn your valve back to the steam icon and turn off the heat.
Allow your canner to completely cool before removing the lid. Leave your jars on the counter over night to finish cooling and then remove the bands and store.
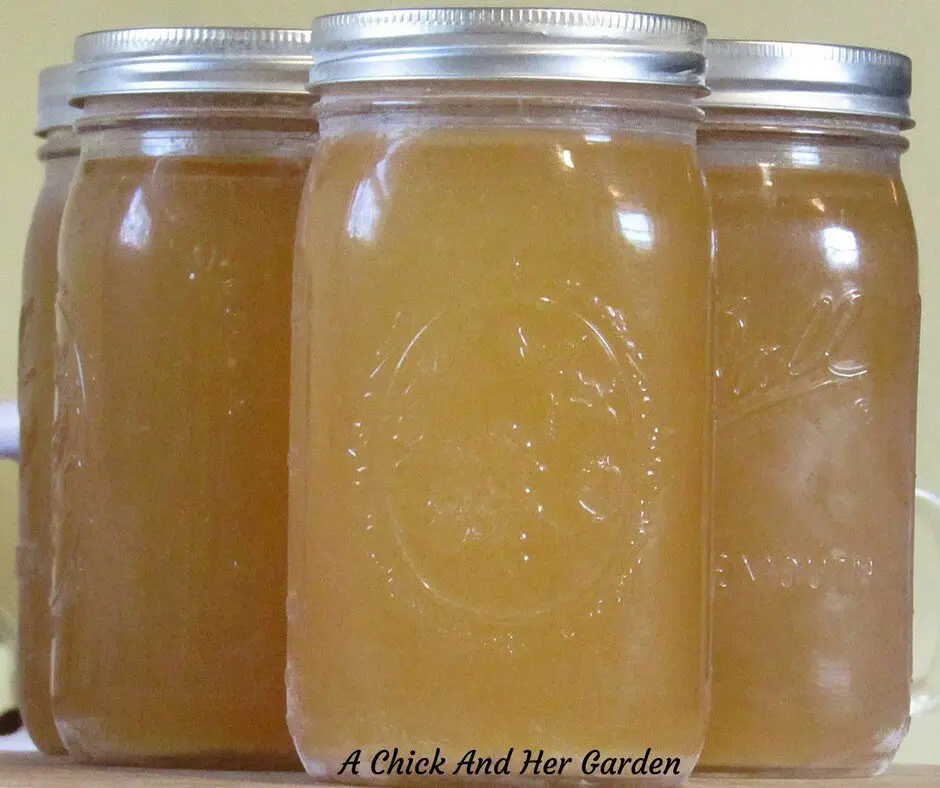
Viola!!! We survived! And now we have beautiful jars of stock, not taking up space in the freezer!!

I’m soooo not afraid of pressure canning anymore (well sort of)!
*If you have a different pressure canner, please be sure to read the full instructions. My processing my differ from the requirements of the model that you have.
jude
Thursday 4th of January 2018
Good for you Staci! I had to comment as I'm a beginning canner and made my first batch of chicken bone stock last month as my freezer was full. I didn't know about the tsp. of vinegar helping to draw the nutrients so will add that next time! I use an american canner that holds four quarts at a time or more for pints.
Staci Samuels
Saturday 6th of January 2018
Thanks so much! The pressure canner is a scary beast but I conquered her!
Karla Uphoff
Sunday 16th of April 2017
Thanks for the great tips! I'm curious why pints need to process longer than quarts.
Vanessa Lund
Monday 6th of February 2017
That is awesome. I didn't know you can do that with chicken stock. Great idea and thank you for sharing at Dishing it and Digging it link party.
Staci Samuels
Monday 6th of February 2017
Thanks! I have freed up so much space in the freezer by canning!
Skip The Bag
Saturday 28th of January 2017
Thanks for walking us through the process. I don't have a pressure cooker yet, but it sounds intriguing! Thanks for sharing on the Waste Less Wednesday Blog Hop.