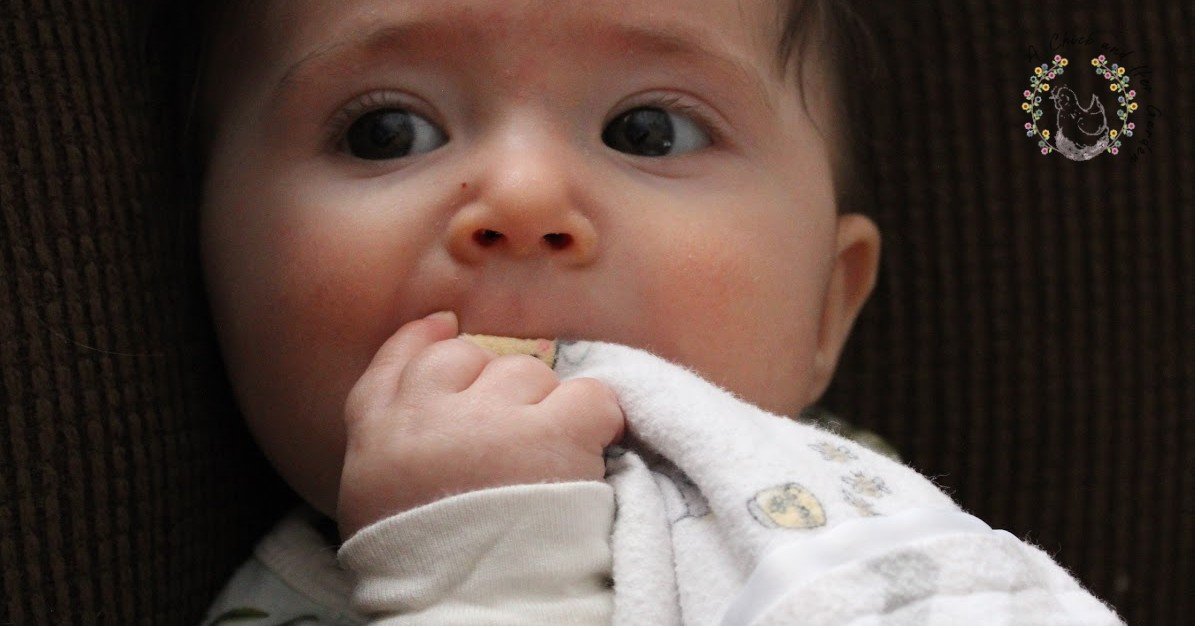
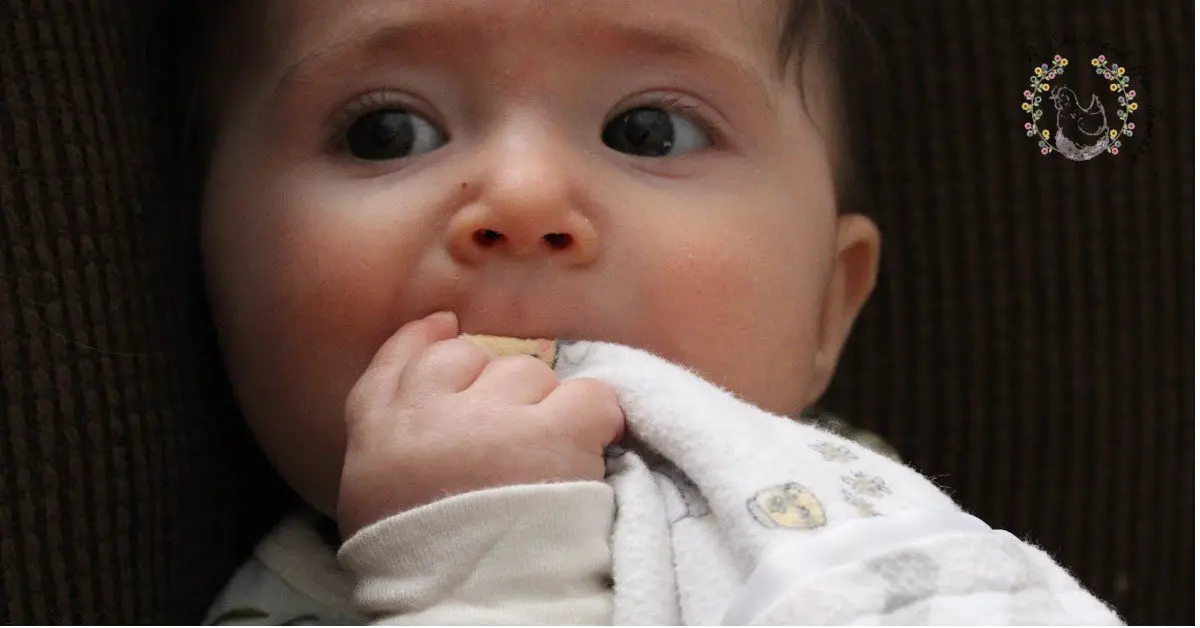
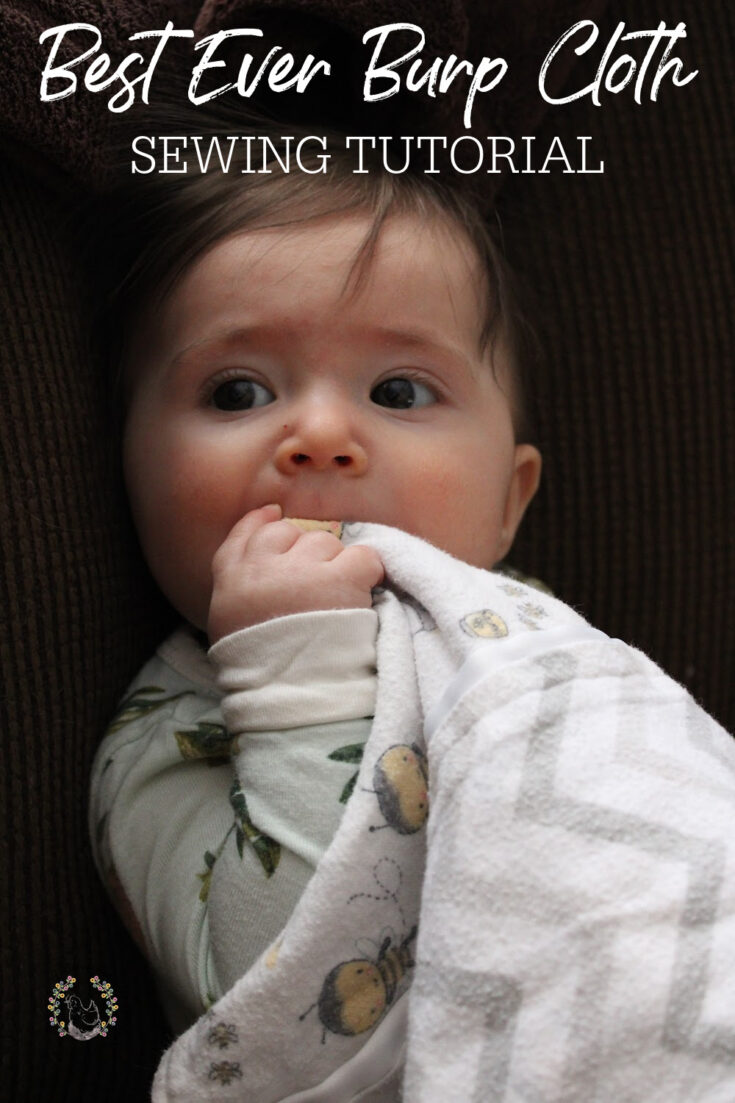
Burp Cloth Sewing Pattern
I came up with this burp cloth sewing pattern years ago when our friends and family all started having their own kids, with dreams of the day when I could make them for our own!
I can’t even count how many burp cloths I’ve made, but the results have all been the same.
Everyone has come back to me to say that they are their absolute favorites!
This page may contain affiliate links. I may earn a small commission when you make a purchase, but it does not effect your cost. Thank you so much for your support of A Chick And Her Garden! ~ Staci
I’ve even had people ask me to make these burp cloths for their friends and family!
At one point in our infertility journey, I had to take a break from them because it was just too hard.
You can read more about our struggle here.
But now, with Baby Girl on the way, and the amount of close friends and families welcoming little ones, my craft room is overflowing with them!
Share the love! Pin for others!

These burp cloths are made of two complementary pieces of flannel, one piece of minky and two strips of satin.
Typically I match the satin to the minky, but due to the pandemic I’m in lock down and can only rely on curbside pick up at the fabric store.
So, in this instance I went with grey minky and white satin.
And no, I’m not sick, I promise!
Very healthy but we’re taking all precautions with this sweet girl that has taken us almost eight years to bring into our family. 🙂
Related Posts
- Cloth Diaper Myths Debunked
- The Colossal Full Back Rice Bag
- Be My Valentine Sensory Bin
- Including Kids In The Garden ~ Seed Starting And Sensory Play
- Including Kids In The Garden ~ How’s and Why’s
- Growing Our Homestead
- In A Pinch Pizza Pockets
Burp Cloth Fabric Measurements
- 2 Satin pieces 4″x20″ each
- Wide Flannel Piece 14″x20″
- Center Flannel Piece 6″x20″
- Minky Piece 14″x20″
Burp Cloth Sewing Pattern/Tutorial
I’ll let you in on a little secret… The process leading up to sewing is my least favorite part.
That’s actually an understatement.
I hate it.
Washing, drying, ironing, cutting.
I’m such an impatient person that it feels like an eternity before I get to the finished product.
So, I take an approach that my husband takes with his food. I do all of the least favorite first. Save the best for last!
First things first!
Wash and dry ALL of your fabric. This will save the burp cloth from shifting when it shrinks a bit.
After the fabric has been washed and dried, iron it so that your cuts are straight.
After that un-fun part is done, it’s time to start measuring and cutting! (Still not the most fun, but it’s getting there!)
I like to start with the satin.
I make strips and strips so that I have a stash for future burp cloths when people come begging for more!
Measure out strips of satin at 4 inches by 20 inches.
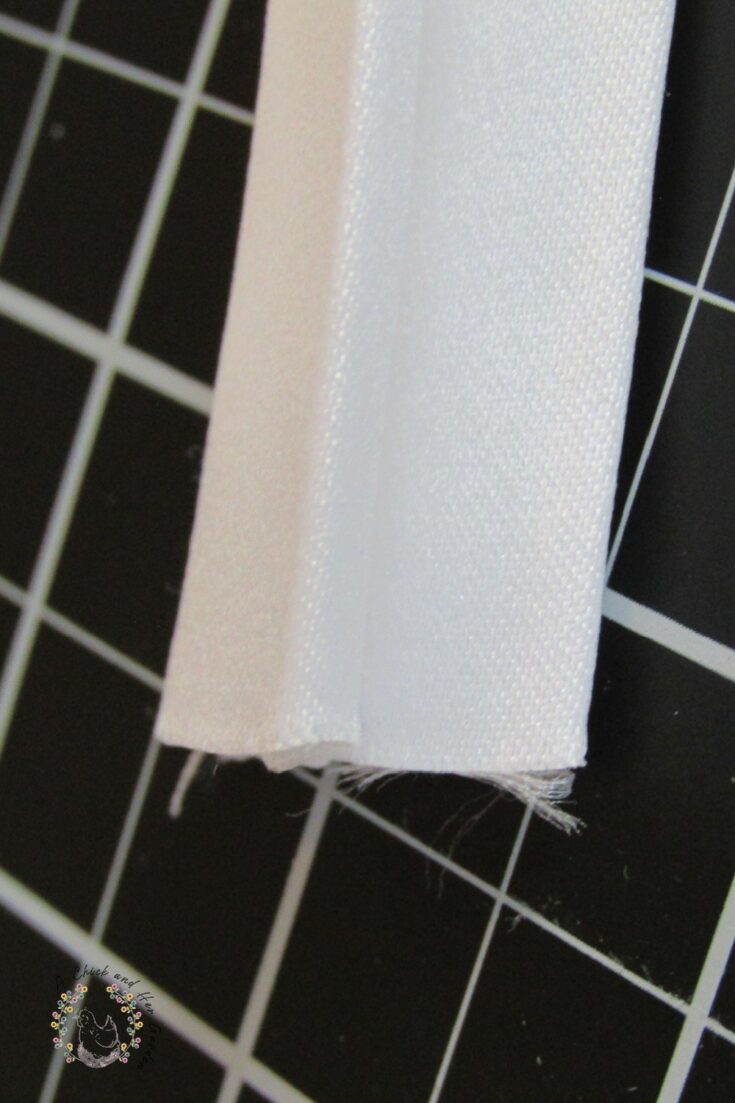
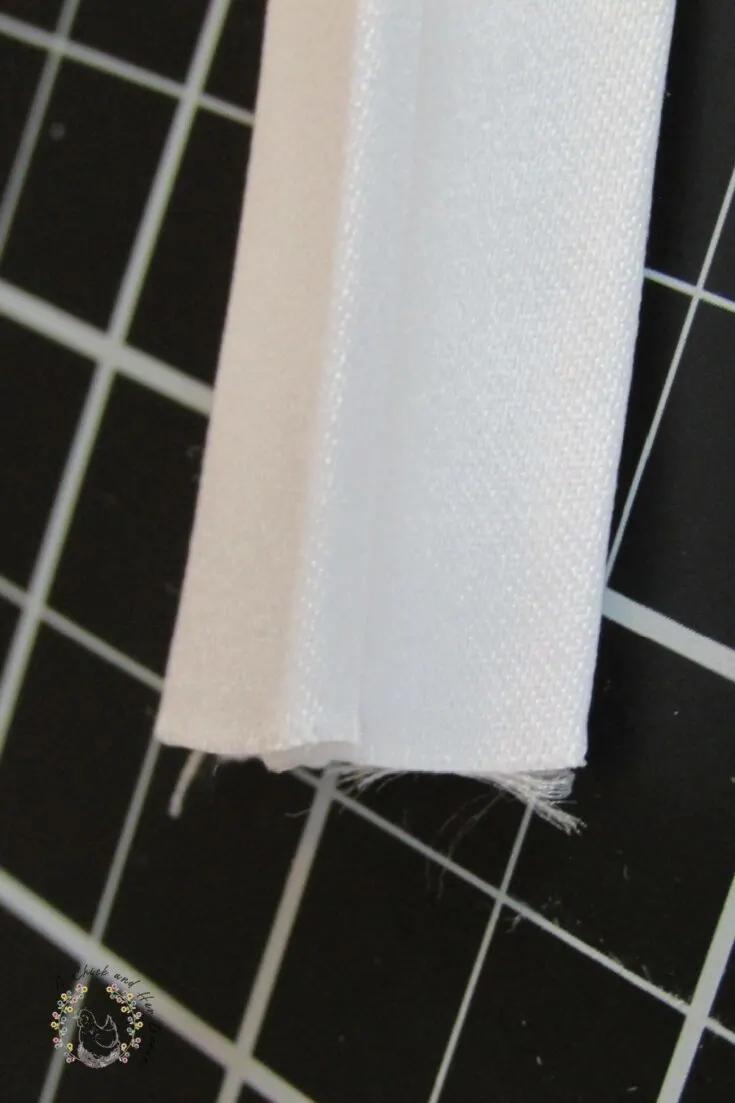
Fold one side (width-wise) in one inch and iron (silky side out, it’s hard to see in the image with white satin).


Now, repeat this step on the other side, so the two sides meet in the middle. It’s okay if they overlap a little in the middle.
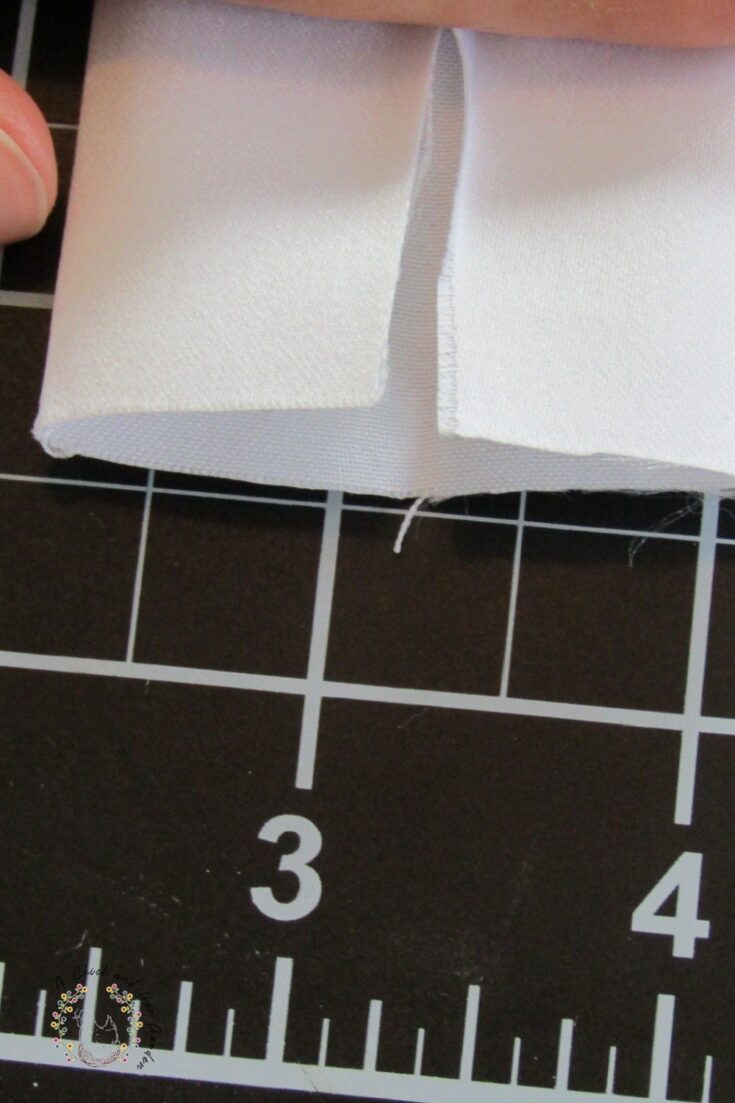

One more fold! Fold this strip in half and iron flat.
Make two of these if you are only making one burp cloth. Or if you’re like me, power through and stock up!
Now it’s time to move on to the flannels.
Measure and cut your center flannel piece to 6 inches by 20 inches and set aside.
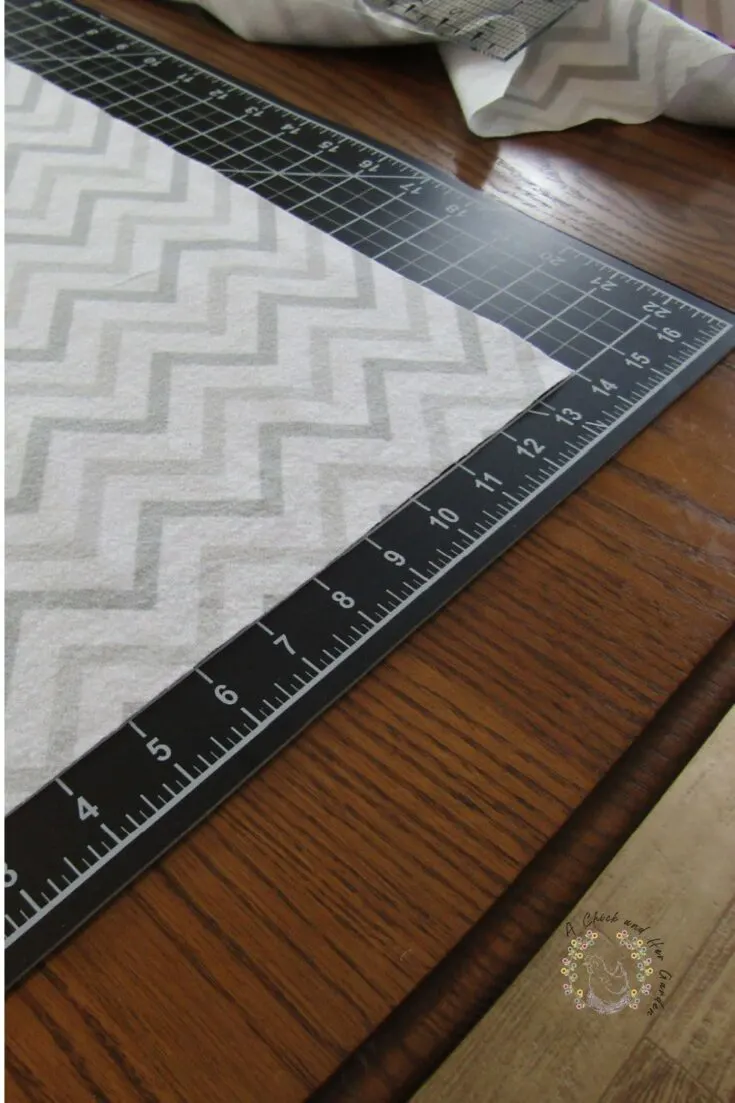
Measure out and cut your base flannel to 14 inches by 20 inches, and set aside.

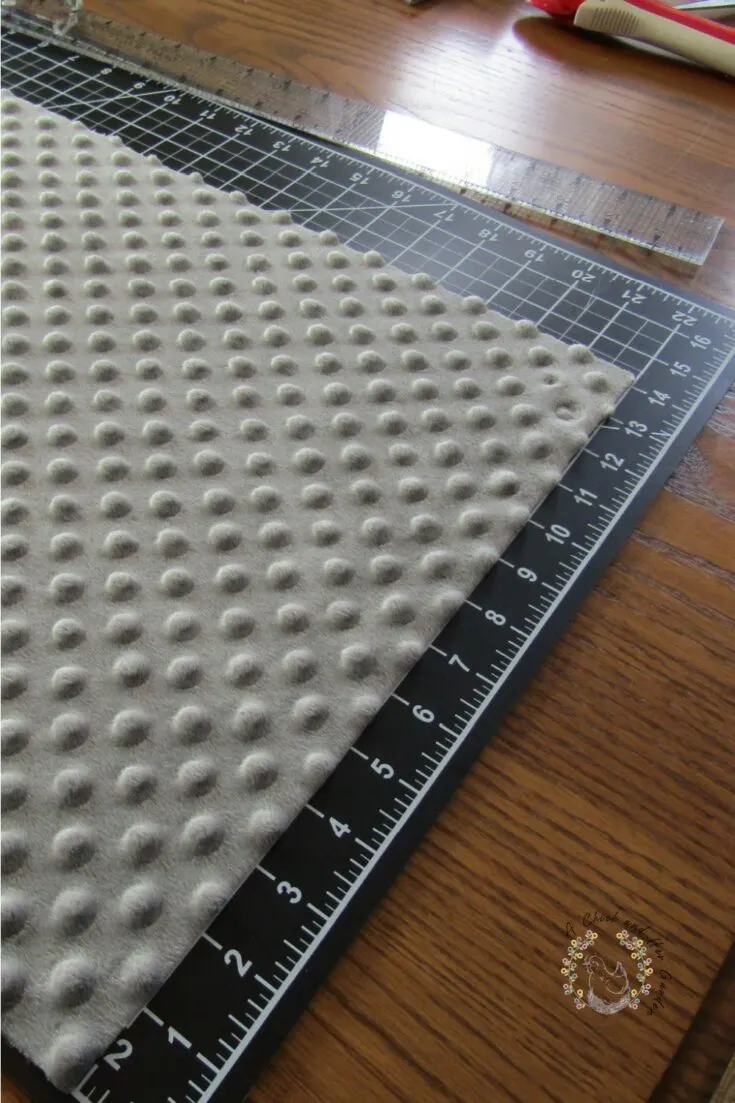
Now it’s time to measure and cut the minky.
Minky will try and make you lose your confidence! I swear it takes pleasure in shifting and laughing at you!
It’s tempting to use the rows of bumps as a guide, but every time I’ve done this it ends up more crooked than when I just use my rulers.
Measure the minky out and cut to the same size as your base flannel, 14 inches by 20 inches.

Oh thank goodness, that part is done! Now we can start the puzzle!
Find your center flannel piece, in head back to the ironing board.
We won’t be there long. 🙂
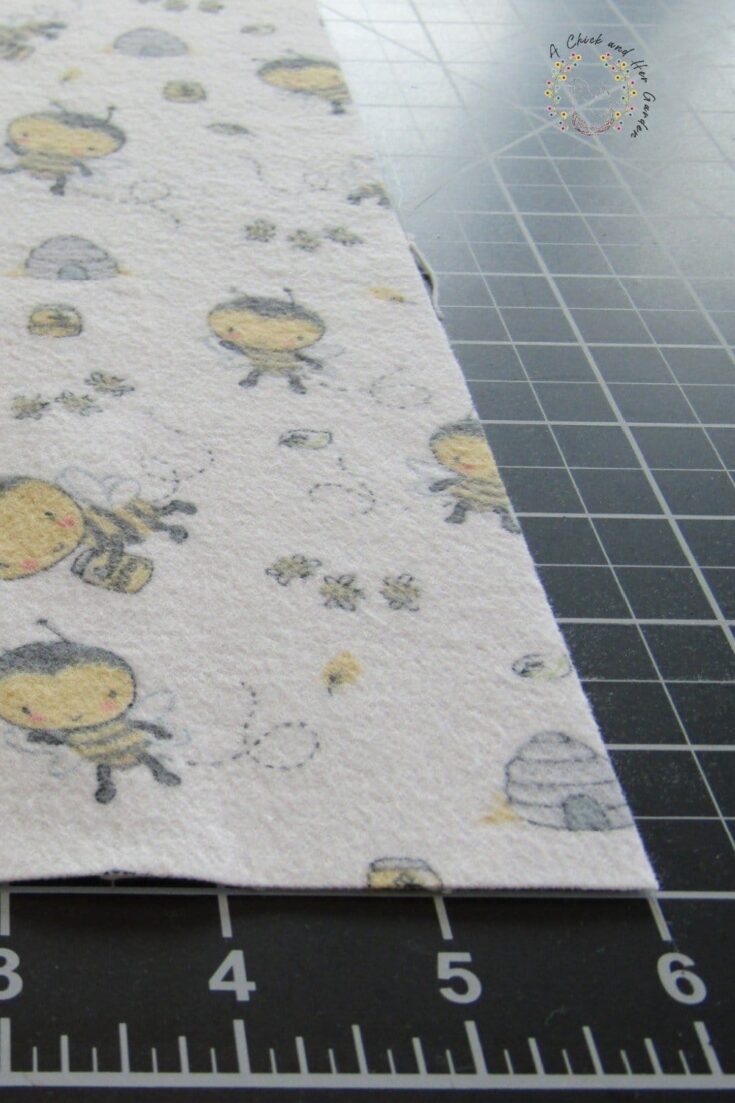
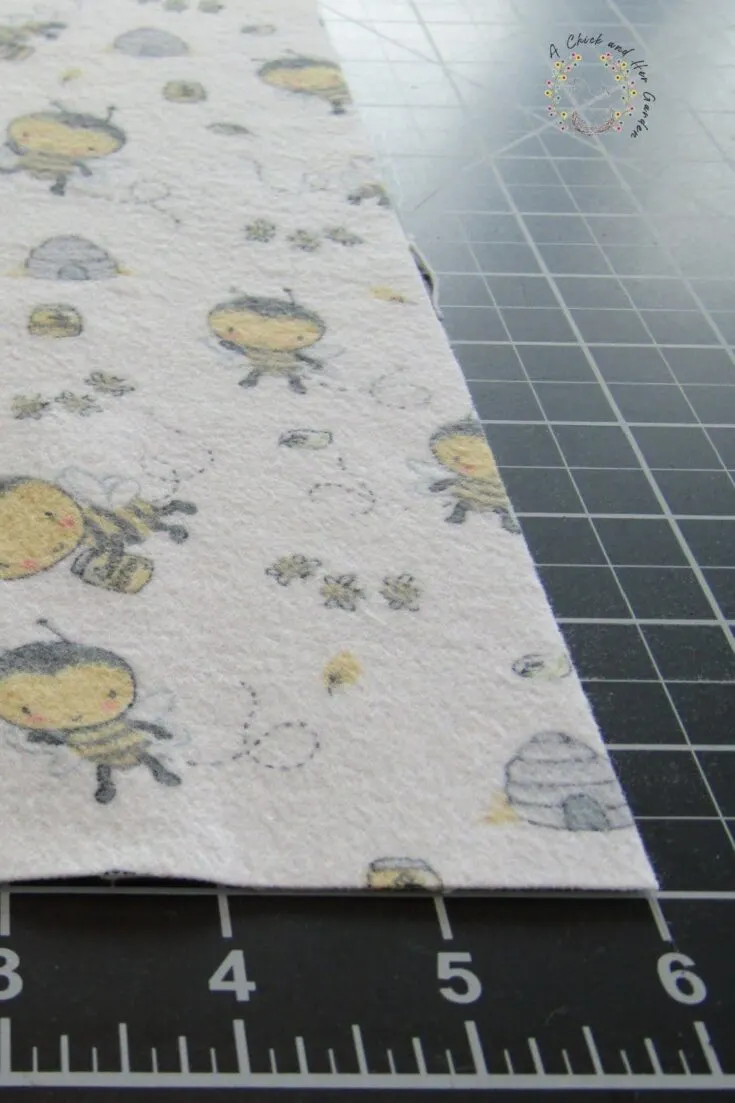
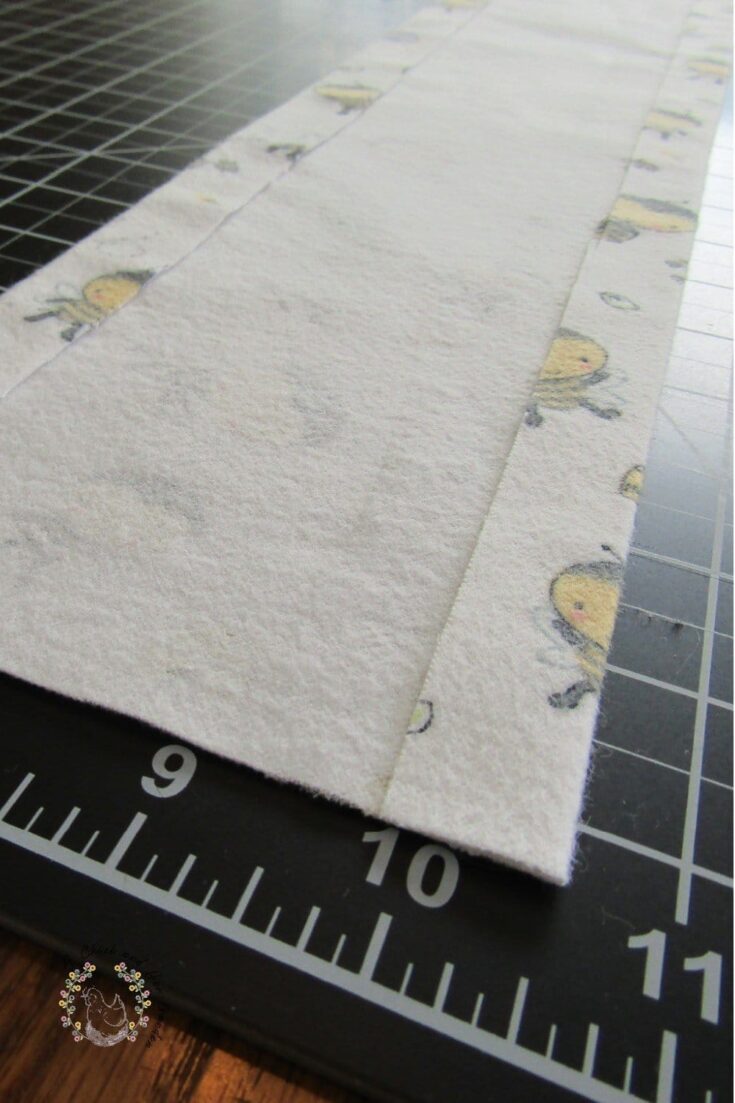
Lay your flannel piece down, right side facing down. Fold in the side, lengthwise, 3/4 of an inch and iron.
Repeat on the opposite side.

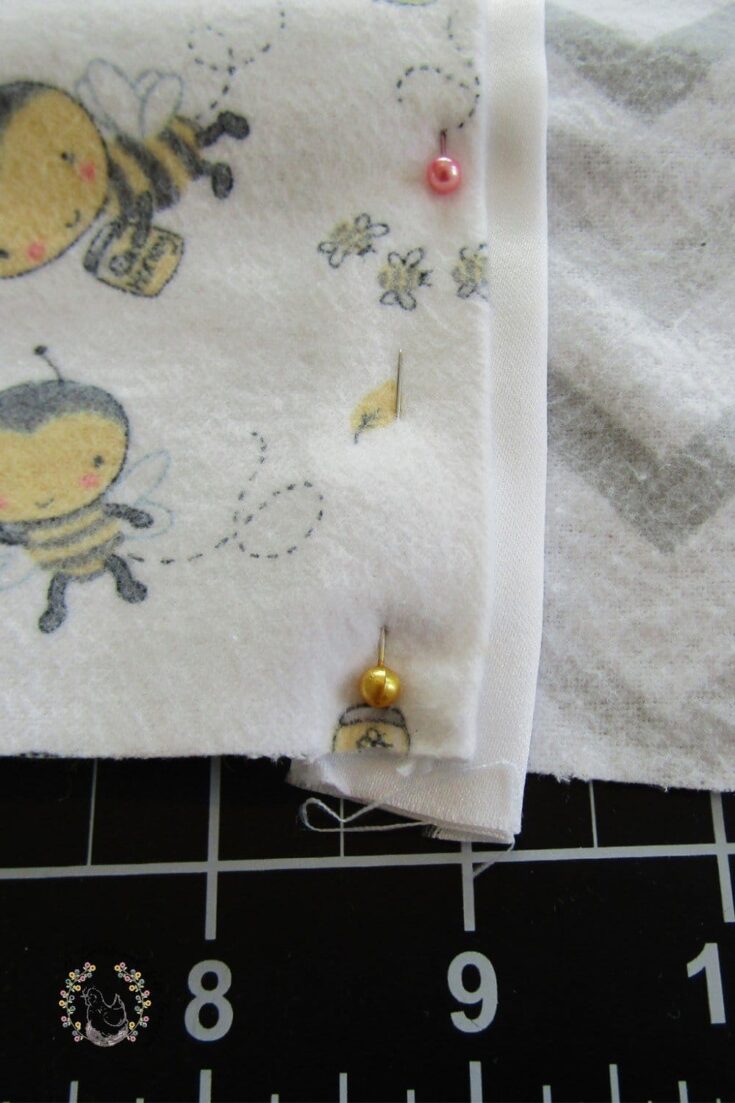
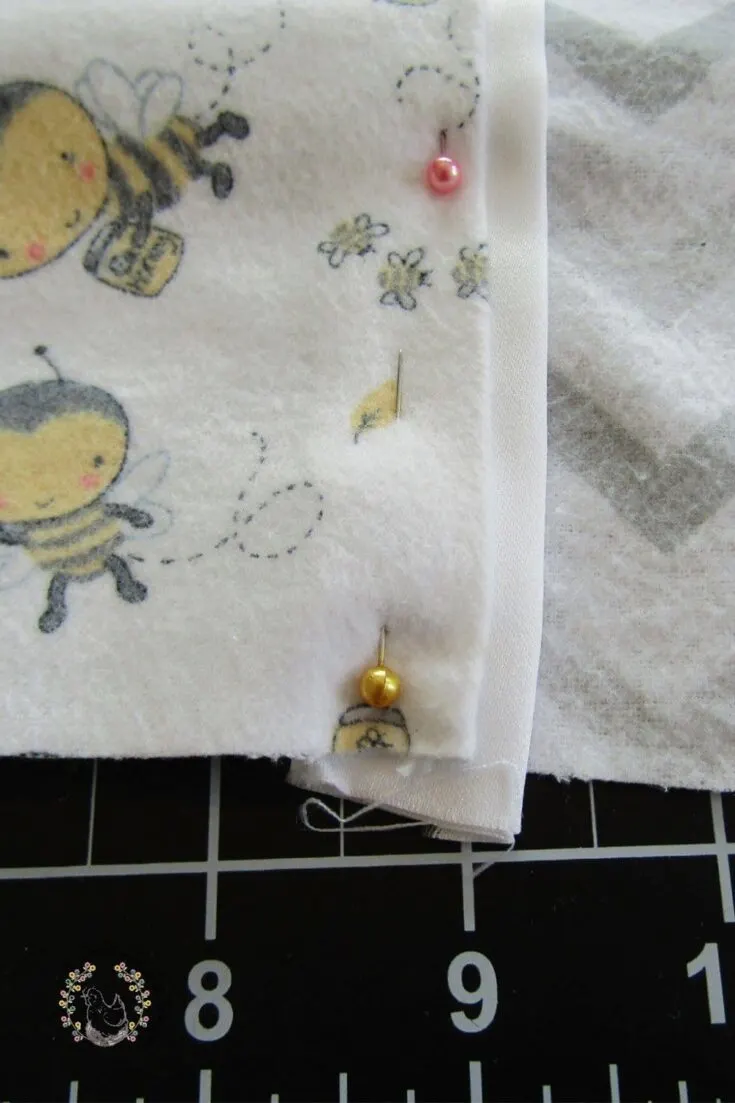
Let’s piece this together! Center your smaller flannel on top of the larger flannel piece.
Fold each side of your center flannel back to tuck in the satin trim and adjust it to stick about halfway out from under.
About a half inch.
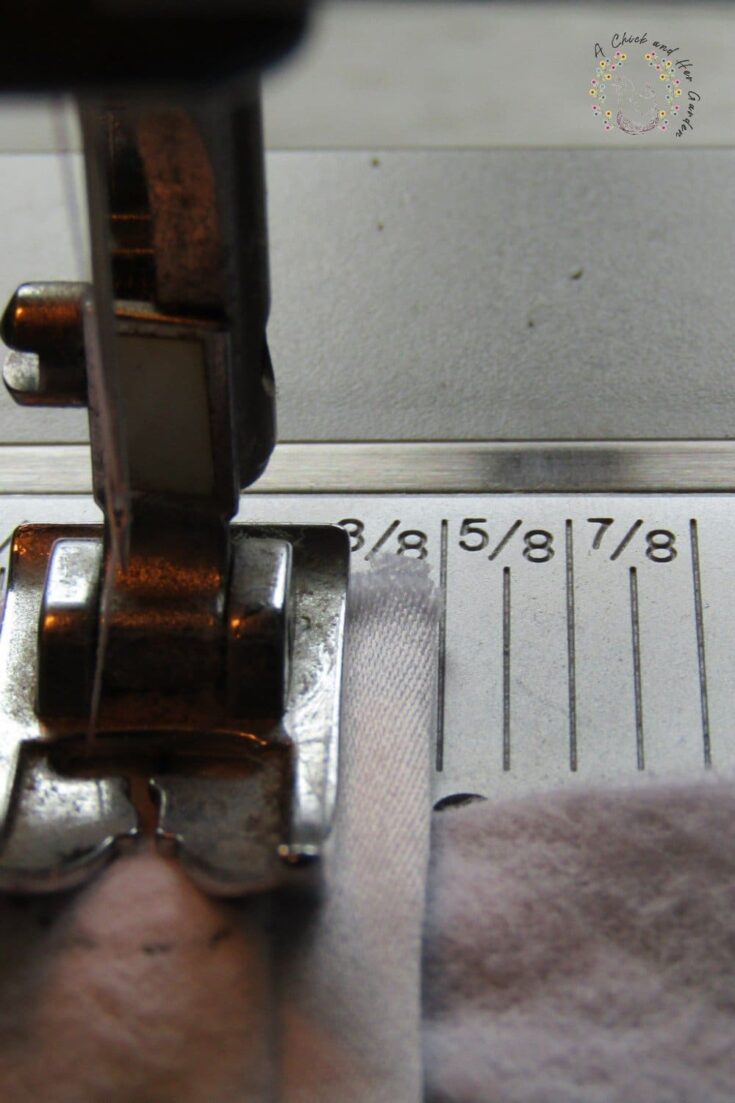
Then pin the center flannel and satin to the base flannel piece.
Sew each side down to the base flannel piece at about 1/4 of an inch.

Almost there!!
Trim off any access on the ends. Sometimes the satin lengthens after ironing and it hangs over the edges.
Line up your flannel piece and minky piece with the right sides together.
Start sewing at the top, on the side of the center flannel piece and trim. This leaves an opening to flip your right sides out later.
Sew about a half inch in, all the way around until you meet the opposite side of trim at the top.
Turn your burp cloth right side out and keep the edges of the opening tucked in.
If it’s easier for you, you can press these edges to keep them tucked.
Sew the opening shut.
I like to continue sewing all the way around to give it a more finished look, but you don’t have to.
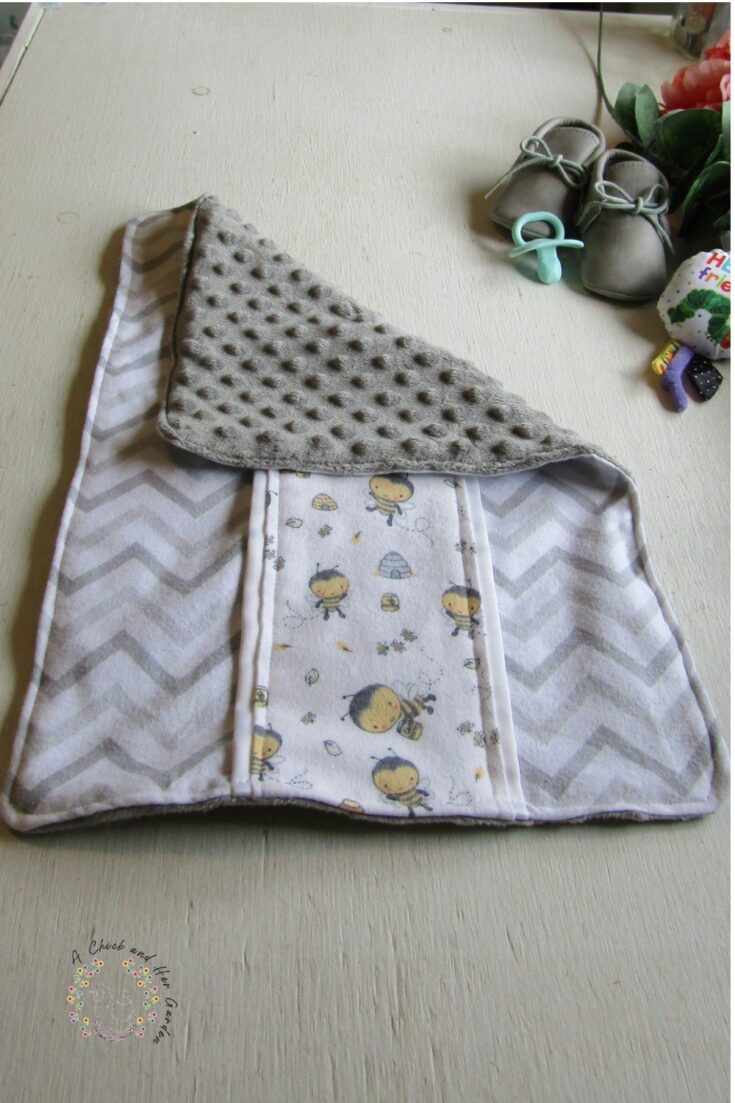
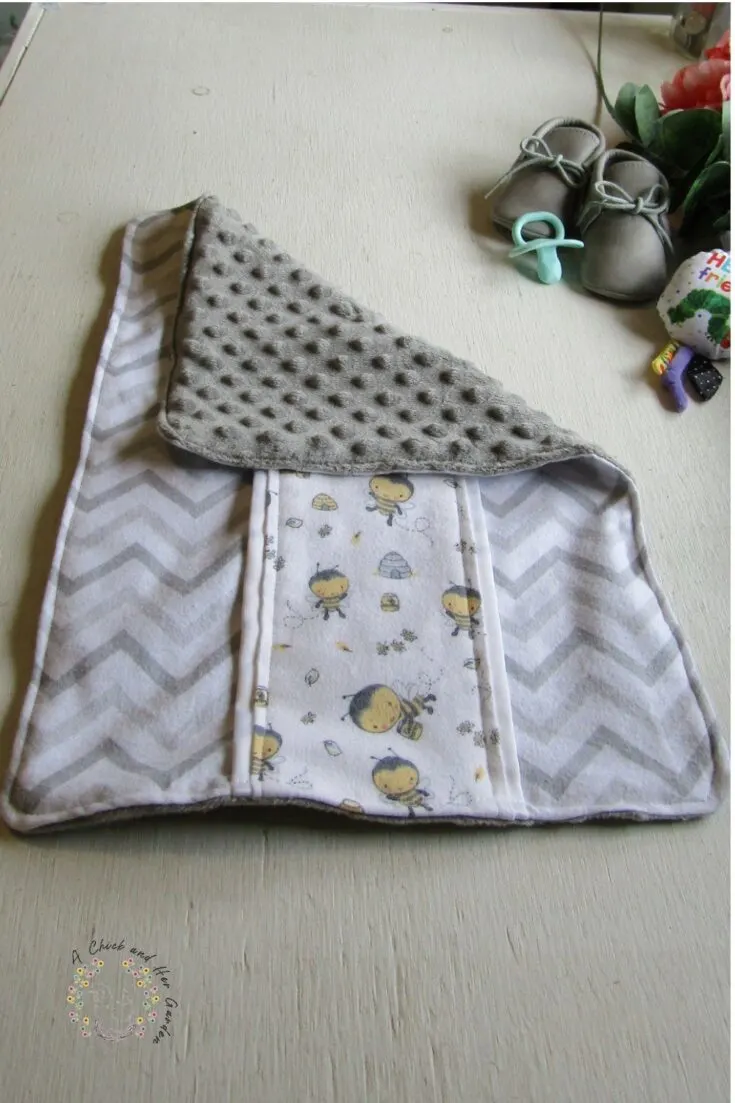
Viola!!
Now……. If you stockpiled burp cloth pieces like me, keep going and sew together a few more!
These are great in bundles of three to give as a gift!