Sourdough English Muffins
In my, not so patient, wait to make Sourdough Bread with my new Sourdough Starter, I’ve decided to try homemade Sourdough English Muffins!
I just couldn’t sit and look at that frothy sweet goodness anymore without incorporating it into something in my kitchen!
This week I made my first batch of Sourdough English Muffins, and they were a hit!


This page may contain affiliate links. I may earn a small commission when you make a purchase, but it does not effect your cost. Thank you so much for your support of A Chick And Her Garden! ~ Staci
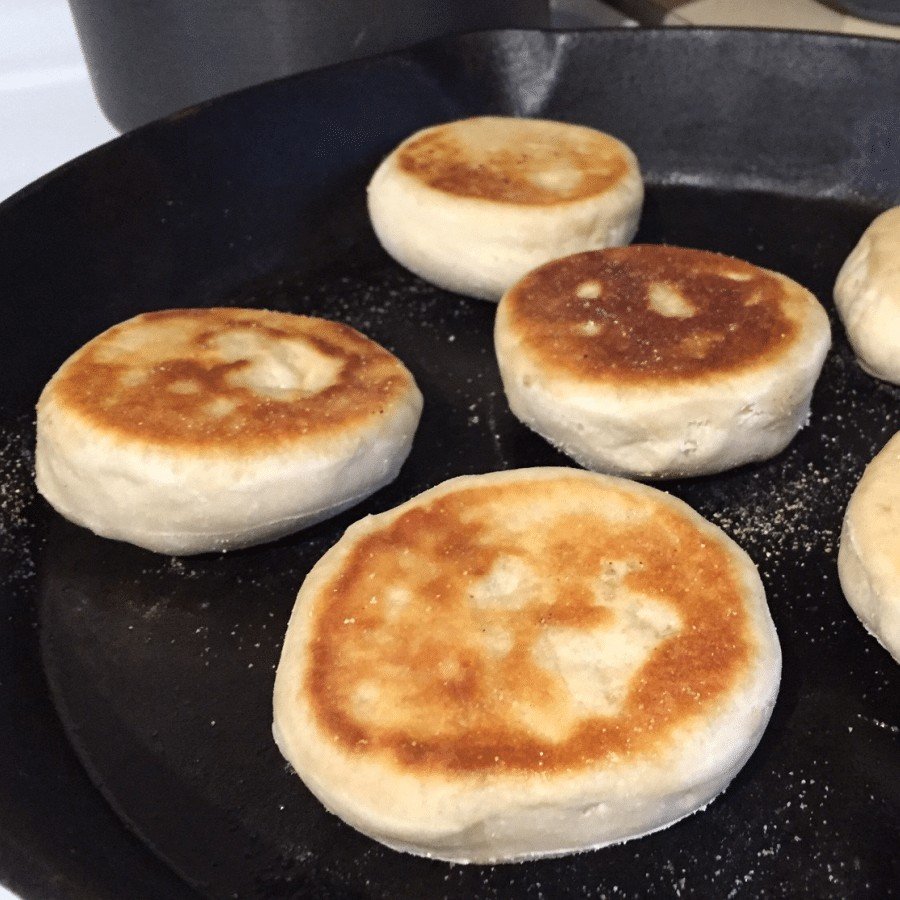
The fun part of English Muffins is that they are made like pancakes, and not baked like your typical bread recipes.
If you’re wanting these fresh for breakfast, I suggest making them on the weekend if anyone needs to get out the door for work.
I made the mistake of attempting to have them ready for hubby during the week, and he was pretty bummed when they were just hitting the pan on his way out the door. Sorry, hubs!
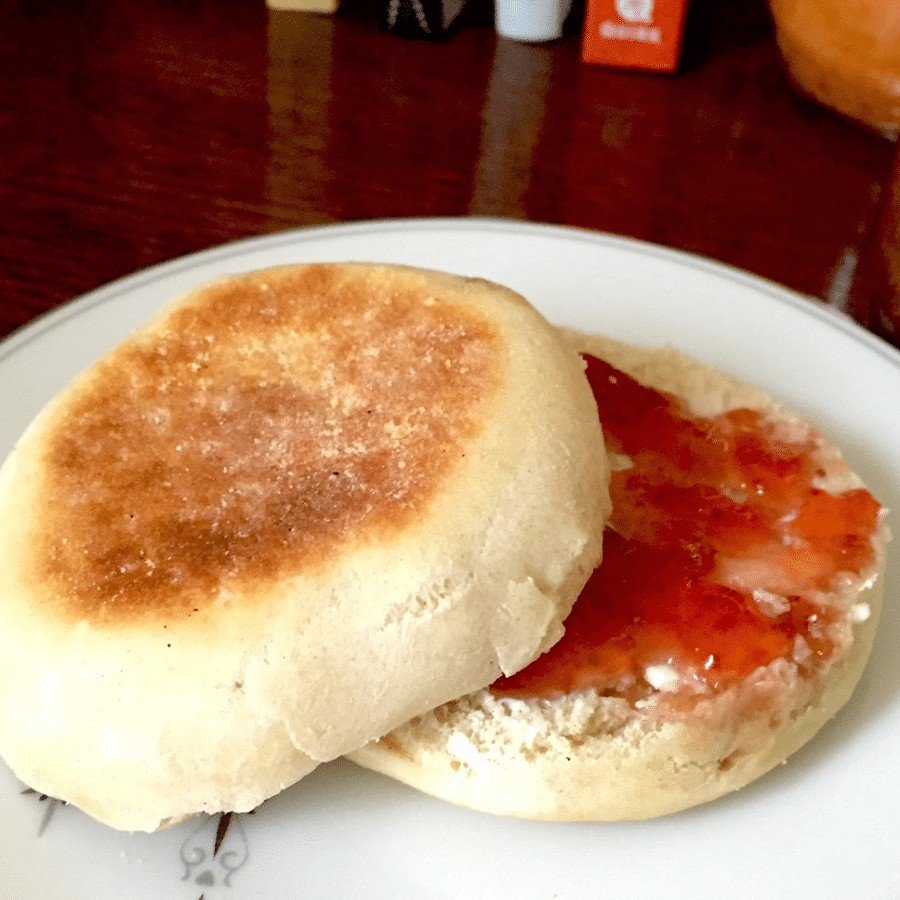
But I redeemed myself by having them ready with homemade butter and jam the next morning! I was forgiven…
And asked not to buy English Muffins from the store again!
Share the love! Pin me for others!


That was an easy request to fill, considering how easy and amazing these English Muffins turned out to be!
Related Posts:
- How to Make Artisan Sourdough Bread
- Sourdough Pizza Bombs Recipe
- Sinful Sourdough Pretzels
- Dangerously Addicting Sourdough Cinnamon Rolls
- Pumpkin Roll Muffins Recipe
- Eggs Regal
Ingredients
- 1/2 cup sourdough starter
- 2 3/4 cup unbleached all-purpose flour
- 1 cup milk
- 1 Tbsp sugar
- 3/4 tsp salt
- 1 tsp baking soda
- cornmeal for dusting.
Directions
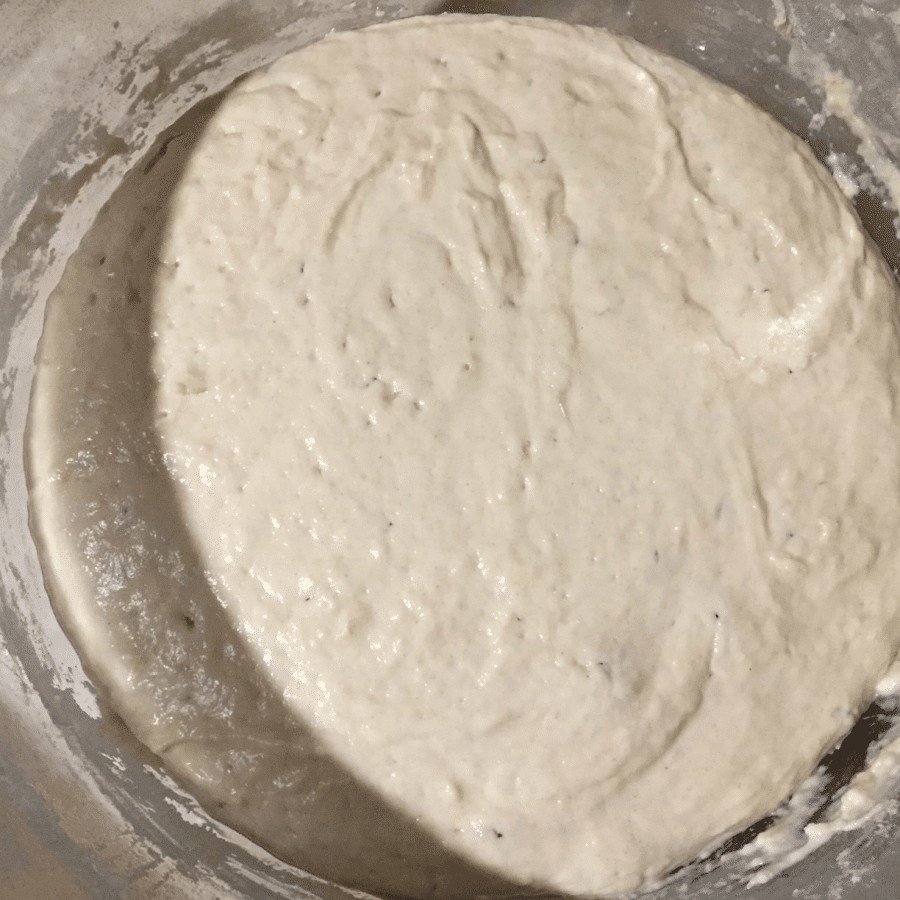
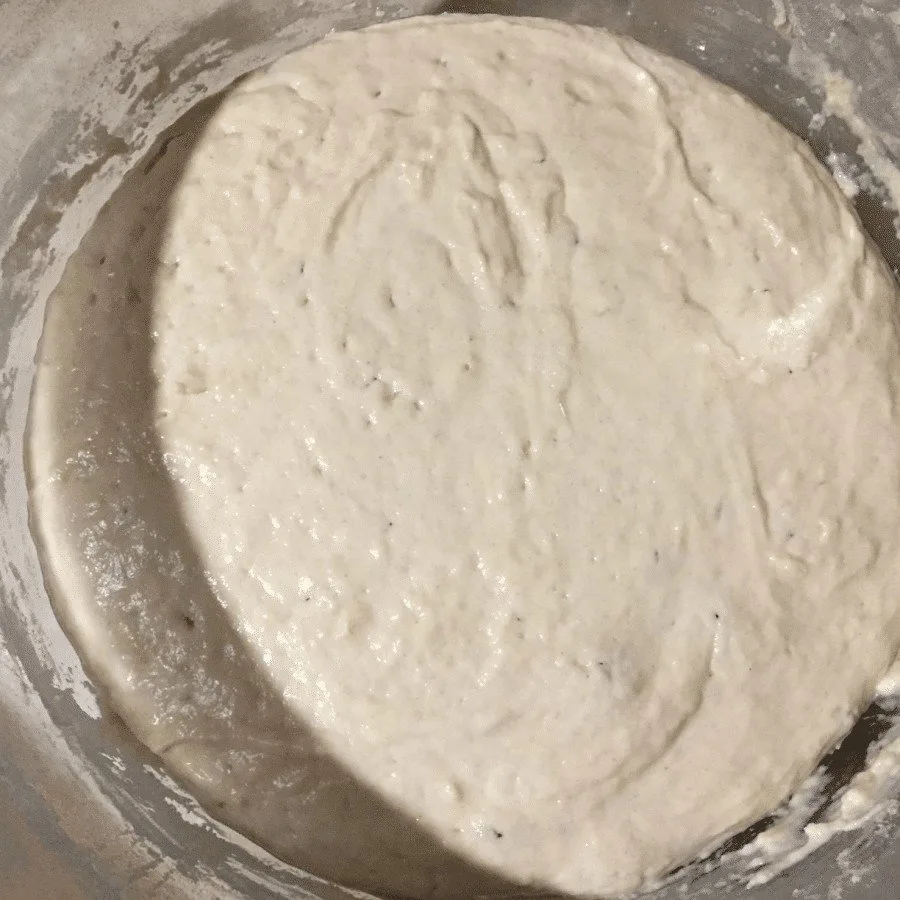
In a medium/large bowl combine your frothy, fed starter with 2 cups of the flour and the milk.
Stir to incorporate and cover with plastic.
Allow this to sit for at least 8 hours. I started this in the morning, the day before, and left it to sit until the morning (about 18 hours.)
Add the remaining ingredients combine.
Place the dough on a lightly floured surface and knead (my favorite part !) for 4-5 minutes.
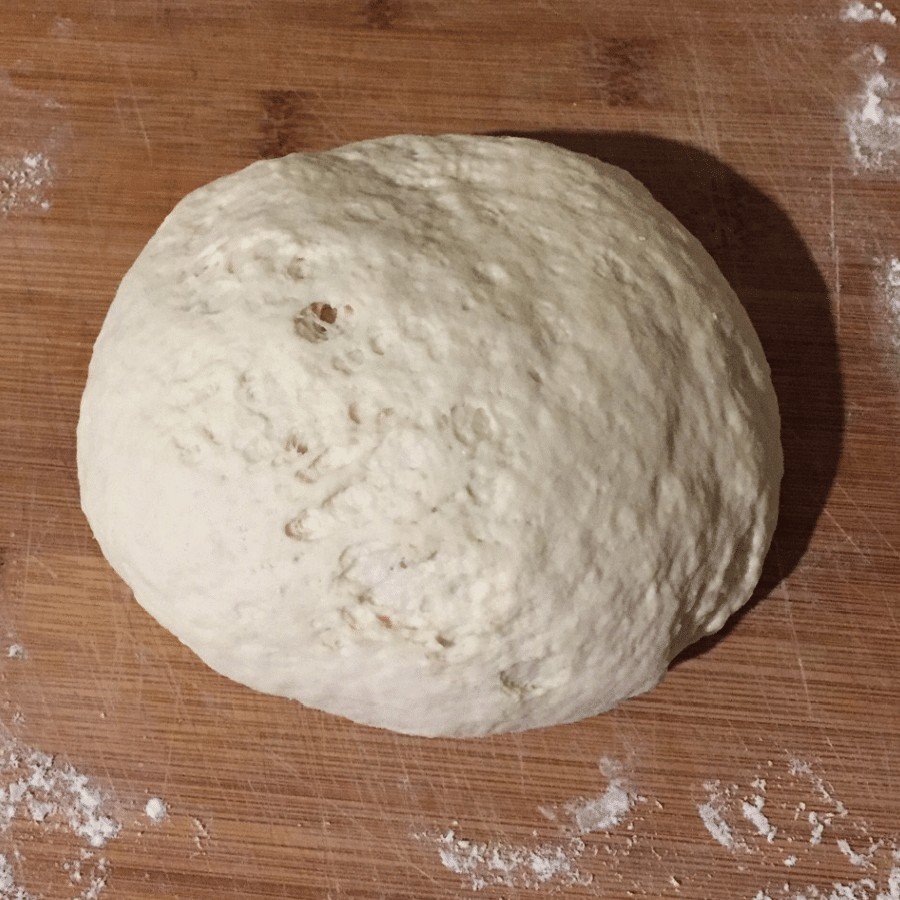
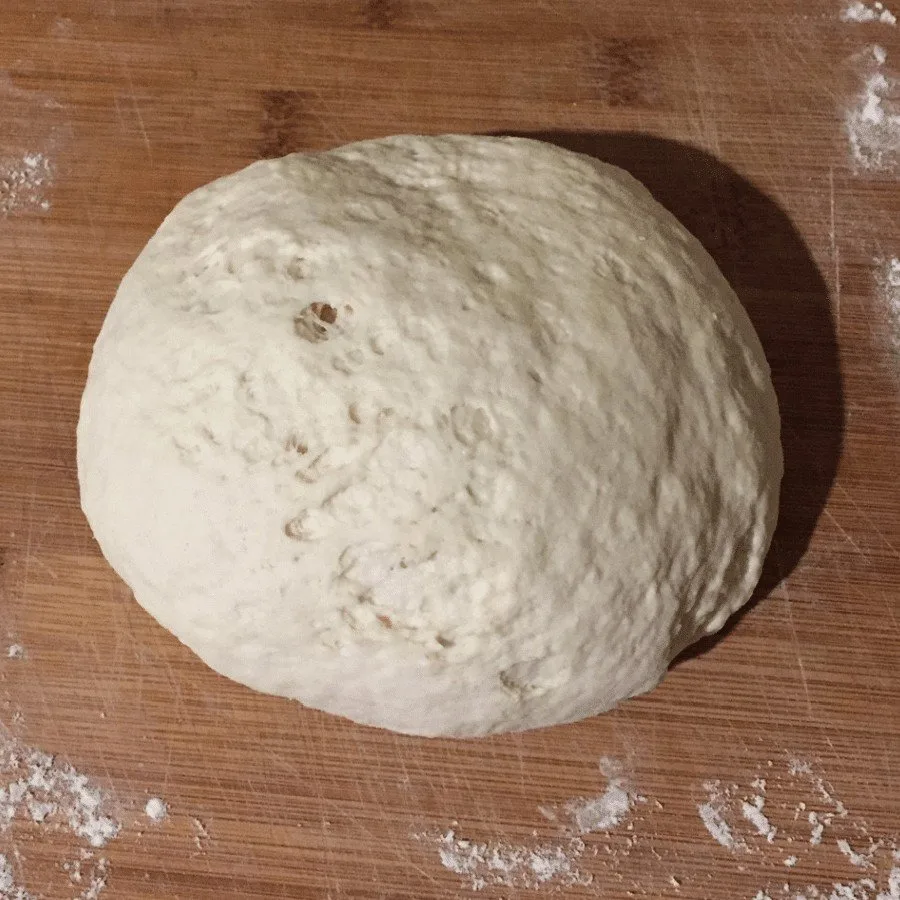
Roll the dough out to about 3/4 inch.
Cut out your muffins (I used the top of a glass that was about the right size, dusted with flour) and transfer them to parchment paper that has been lightly dusted with cornmeal.
Allow them to rest for at least 45 minutes. This is the part that threw off my timing for hubby’s breakfast. Sorry again!!
Before rolling out the remaining dough, allow it to rest for 10 minutes.
Place the muffins in a skillet, preferably cast iron, preheated to medium heat.
Cook on each side for 6- 8 minutes.

I like to eat them fresh without toasting, but toast them before using if they have cooled off.
Using every scrap of dough, I was able to make 10 full sized muffins and one tiny muffin (couldn’t let it go to waste).

After these, store bought English Muffins will have no place in my kitchen!


Sourdough English Muffins
You'll never go back to store bought English Muffins after trying Homemade Sourdough English Muffins!
Ingredients
- 1/2 cup sourdough starter
- 2 3/4 cup unbleached all-purpose flour
- 1 cup milk
- 1 Tbsp sugar
- 3/4 tsp salt
- 1 tsp baking soda
- cornmeal for dusting.
Instructions
- In a medium/large bowl combine your frothy starter with 2 cups of the flour and the milk.
- Stir to incorporate and cover with plastic.
- Allow this to sit for at least 8 hours. I started this in the morning, the day before, and left it to sit until the morning (about 18 hours.)
- Add the remaining ingredients combine.
- Place the dough on a lightly floured surface and knead (my favorite part !) for 4-5 minutes.
- Roll the dough out to about 3/4 inch.
- Cut out your muffins (I used the top of a glass that was about the right size, dusted with flour) and transfer them to parchment paper that has been lightly dusted with cornmeal.
- Allow them to rest for at least 45 minutes. This is the part that threw off my timing for hubby's breakfast. Sorry again!!
- Before rolling out the remaining dough, allow it to rest for 10 minutes.
- Place the muffins in a skillet, preferably cast iron, preheated to medium heat.
- Cook on each side for 6- 8 minutes.
This recipe was originally found on Jonesin’ For Taste! Stop in and check it out!
Shared on:
Homestead Blog Hop
Wendy Dennis
Friday 5th of June 2020
I LOVE this recipe! I use whole wheat all purpose flour and a stainless steel skillet with great results. I highly recommend letting the muffins sit for over an hour before cooking. The first two times I made these, I noticed that the second batch came out better, so I waited more than an hour to start cooking when I made these yesterday and they puffed up much higher than previous times. Also, to check if done, I use an instant read thermometer to make sure the inside is at least 190 degrees.
Adrienne Kusch Hinton
Thursday 21st of May 2020
There is nowhere to comment on your artisan sourdough bread recipe, but you have two different amounts for the water listed in that post - 250g and then 350g. I'm sad I learned that the hard way. Just wanted to let you know. The english muffins are next on my to-bake list. :)
Staci
Thursday 21st of May 2020
Oh no! I'm so sorry! but thank you for letting me know! I will be sure to fix this!
Cindy
Monday 18th of May 2020
My family loves these muffins!! So good every time.
Grandma bakes
Friday 1st of May 2020
These are delicious! I am making them now. I let one cool a bit and tried it. So yummy. I let my sponge sit for 24 hrs, cut out the muffins with a regular size canning lid, then baked them in my electric frying pan. I needed to bake them about 8 minutes per side, at 325-350 F to get them nicely browned. I made 14 muffins.
Summer Yule
Sunday 19th of April 2020
These were excellent! With my round cutter, this recipe made six English muffins (perfect for my family of 3). I had to keep the heat fairly low for these to brown nicely and I covered the pan during cooking. Great use for my starter discard!