Knowing how to can tomatoes is a must at this homestead! You wouldn’t think that it was that high up on the importance list, but it really is!
Not only are they healthier for you, but they taste so much better than canned tomatoes from the grocery store.
If you sit down and really think about it, they can be used so many ways in the kitchen! Chili, soups, casseroles, mixed into taco meat, sauces (especially if you run out of your own canned sauce and need to make more!).

This page may contain affiliate links. I may earn a small commission when you make a purchase, but it does not effect your cost. Thank you so much for your support of A Chick And Her Garden! ~ Staci
The nice thing about knowing how to can tomatoes, though, is that even though it’s so important it’s not a hard task at all!
All you need to can your own tomatoes is a day for canning (yes a day if you plan on lasting the year!), a water bath canner, mason jars in the size that you need (we use quart jars), citric acid, a large stock pot, ice, fresh tomatoes and tomato juice!
Share the love! Pin me for others!!

Related Posts:
- How To Stock Your Homestead Pantry
- Spicy Dilly Beans
- Pressure Canning Chicken Stock
- Canned Cinnamon Applesauce
- Make Your Own Onion Powder
- Bruschetta with Cannellini Beans
- Homemade Butter Without a Churn
- How to Make Goat Cheese, Chèvre
So now you’ve got the supplies. Let’s learn how to can tomatoes!
Before you get going, start the process to sterilize your jars and lids. You can do this by either boiling them in your canner, or like me run them through the dishwasher.
The dishwasher is nice because it takes up less space (which, who doesn’t love) and it keeps them hot if you’re not ready for them when the cycle is done.
Fill your stock pot and water bath canner with water and get them boiling.
Fill your clean kitchen sink with ice and cold water.
Now, wash your tomatoes and cut a small X in the bottom of each with a pairing knife. Getting this done ahead of time is a great way to keep you from getting behind in the next few steps.
Place some tomatoes in the boiling stock pot for 30-60 seconds. The skins will start to crack.
This is when you scoop them out and plunge them into the ice water in your sink.
Repeat the last two steps until all of your tomatoes are in the sink (or your sink is full and you need to take a break from the first step! 🙂 ).
Peel the skins from the tomatoes and save them for later! (I’ll have a new post soon to tell you why!)
Cut off the tops. This will reveal holes were the seeds are.
Use your finger to scoop out the seeds. Leaving the seeds in is possible, but can leave a bitter taste in canned tomatoes and sauces, so I take the extra step to remove them.
Now that you’ve peeled and seeded your tomatoes, do you want to can them diced, quartered, whole??
We like them quartered or halved and just crush them a bit later.
Put your tomato juice in a medium saucepan and bring it to a simmer. Prepare your tomatoes while you wait.
Now you’re ready to can! Pull your hot jars and lids from the dishwasher or boiling canner and place them on your canning rack.
Pack the jars with tomatoes leaving a 1/2 inch head space.
Add the appropriate amount of citric acid to your jars. The label will tell you how much you need based on jar size.
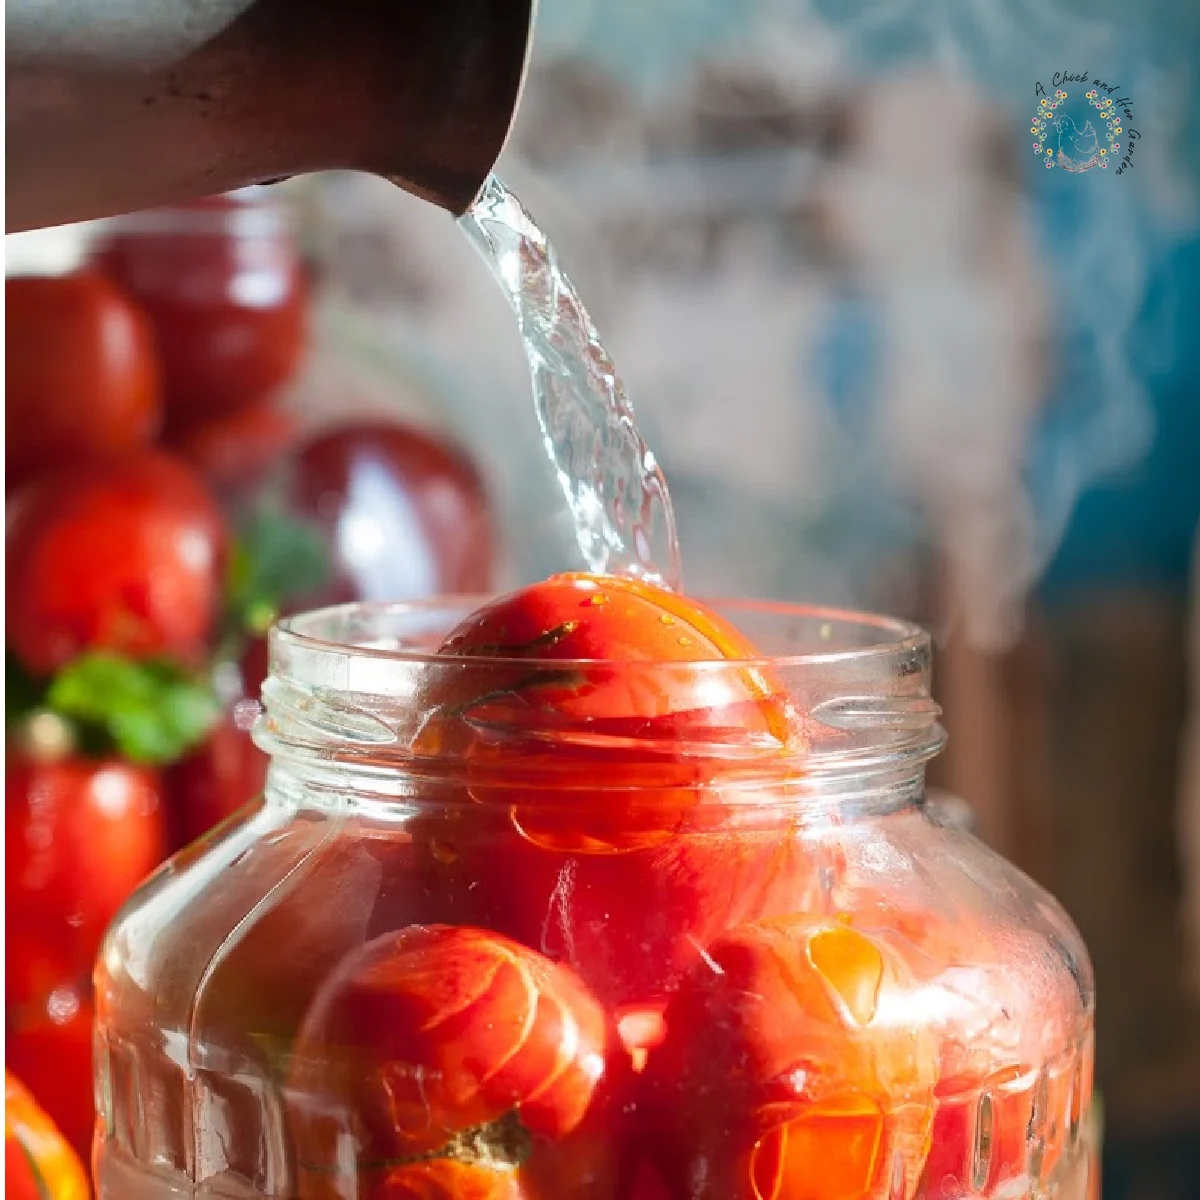
Pour the hot tomato juice over the tomatoes, also leaving a half inch head space.
Use a butter knife to get any air bubbles out.
Wipe the rims of the jars with a clean cloth and places the lids on.
Add the rings and hand tighten. It doesn’t need to be too tight!
Transfer the rack to the boiling canner, making sure that the water covers the jars by 1 to 2 inches. Process 40 minutes for pints and 45 for quarts.
After your timer goes off, remove the jars from the canner and allow them to cool on the counter for 24 hours before storing them.
So, now you know how to can tomatoes! If you’re looking for more ways to stock your pantry, check out my post How To Stock Your Homestead Pantry!